
A patio should feel solid underfoot. When one section starts dipping, rocking, or collecting water after rain, the problem is usually below the surface, not with the pavers themselves. To repair sunken patio pavers properly, you need to remove the affected stones, rebuild the base to the right height, and address the drainage or soil issue that caused the settlement in the first place.
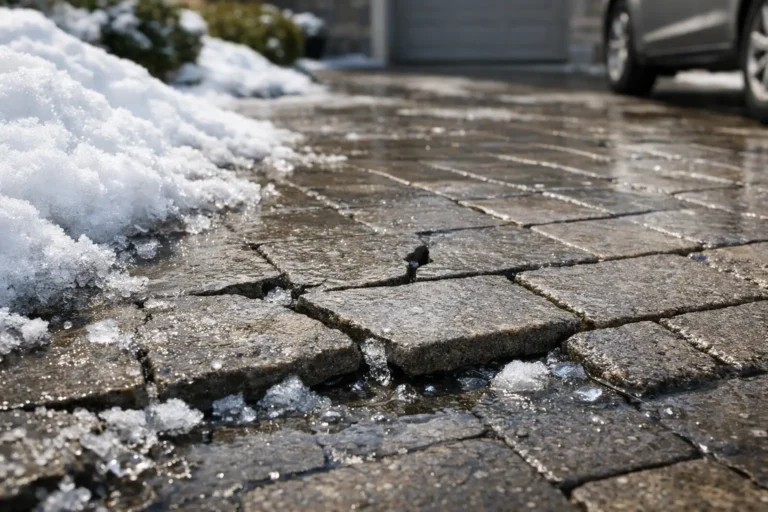
For homeowners in Kitchener, Waterloo, Cambridge, and across the Waterloo Region, this matters even more after freeze-thaw cycles. Water that gets into an improperly prepared base can shift material, soften the subgrade, and leave a patio uneven by spring. A quick layer of sand may make the area look better for a short time, but it will not create a lasting repair.
Why Patio Pavers Sink
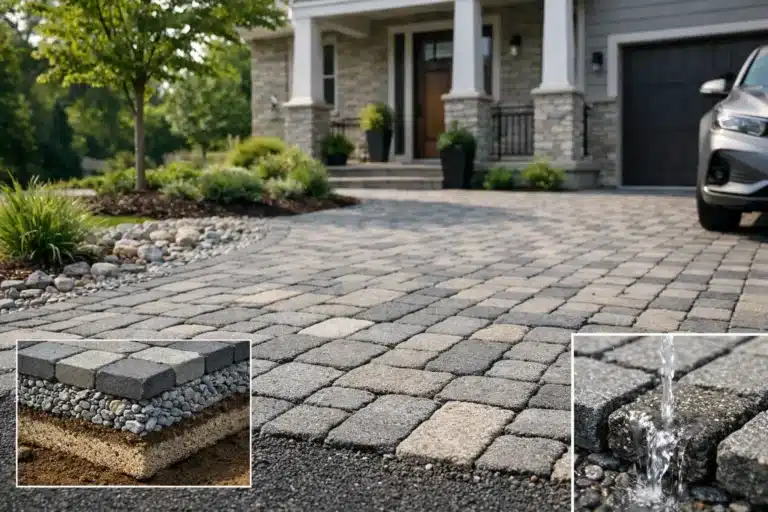
Interlock patios are built in layers: compacted native soil, a granular base, bedding material, pavers, and jointing sand. When any of those layers move or lose support, the surface can settle. The pavers follow the base beneath them.
Poor drainage is one of the most common causes. A patio that slopes toward the house, a downspout that empties onto the stone, or low spots along the edge can direct water into the base. Over time, water washes fine material away or saturates the soil below. The affected area drops, and the patio begins to hold even more water.
Inadequate compaction is another frequent issue. If the original base was installed too thin, compacted only once, or placed over soft soil without proper preparation, it may settle under foot traffic, furniture, or seasonal frost movement. This is especially common around patio edges, steps, and areas where a previous contractor filled a low spot rather than rebuilding the foundation.
Other causes include tree roots, leaking irrigation lines, soil erosion, and settlement around utility trenches. If only a small group of pavers has dropped, the repair may be straightforward. If the entire patio has waves, widespread low areas, or water moving toward your foundation, it is time to look beyond a spot repair.
How to Repair Sunken Patio Pavers the Right Way
A lasting repair starts by identifying the full area that has moved. The low point is not always the only section that needs to come up. Check the surrounding pavers with a long straightedge or level, and look for loose edges, separating joints, and places where water sits after a hose test or rainfall.
Remove and save the affected pavers
Lift the sunken pavers and several stable pavers around them so there is room to rebuild the base evenly. A flat screwdriver, paver puller, or two putty knives can help release the first unit. Once one paver is out, the rest usually lift easily.
Set the pavers aside in the same general pattern and inspect them as you work. Sound concrete pavers can almost always be reused. Replace only those that are cracked, badly chipped, or stained beyond cleaning. Keeping the original pavers helps preserve the patio’s color consistency and pattern.
Excavate to the stable base
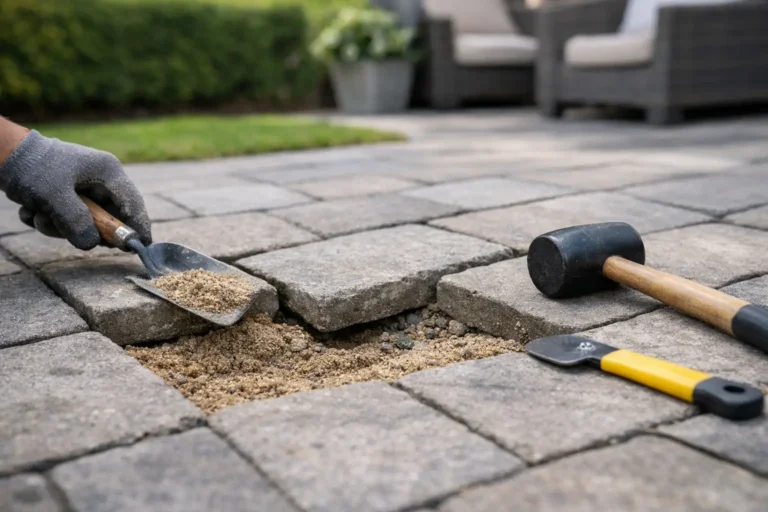
Remove loose bedding sand and any soft, muddy, or contaminated granular material beneath the pavers. Do not simply pour more sand into the depression. Bedding sand is for final leveling, not for filling a deep hole. A thick layer of loose sand will shift again and can leave the pavers rocking.
The depth of excavation depends on how far the patio has sunk and what you find below. For a small settlement issue, the original granular base may still be firm and only need minor correction. If the base is wet, loose, washed out, or thinner than it should be, remove enough material to rebuild it in compacted lifts.
At this stage, investigate why the support failed. Correct a downspout discharge, redirect runoff, or repair a leaking line before closing the patio back up. Rebuilding stone over an active water problem only postpones the same repair.
Rebuild the base in compacted layers
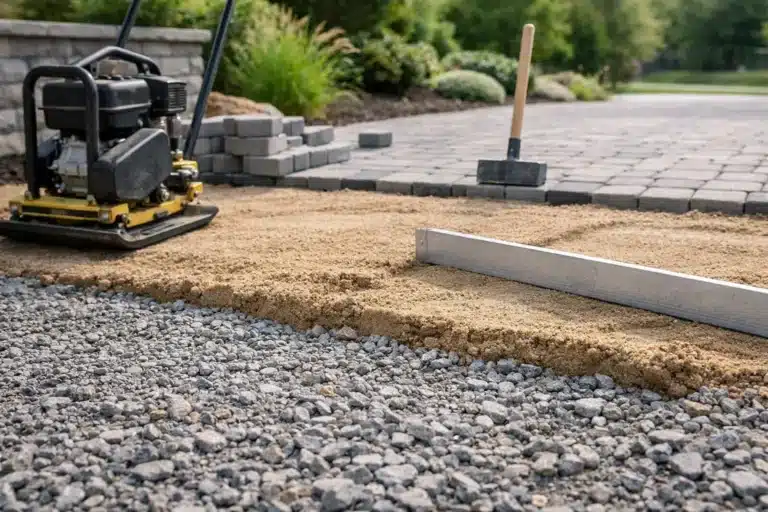
Use clean, well-graded crushed aggregate suitable for paver base work. Add it in thin layers, compacting each layer with a plate compactor or hand tamper depending on the repair size. Mechanical compaction produces a more dependable result for anything beyond a very small area.
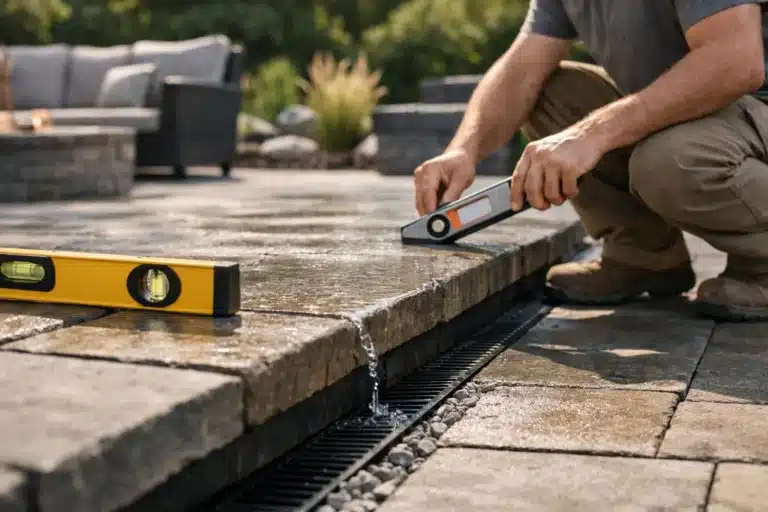
The finished base should be firm, level where needed, and graded to drain away from the house. Patios generally need a gentle slope so water leaves the surface instead of sitting at the foundation. The exact slope and drainage route depend on the property, surrounding grades, doors, steps, and adjacent landscaping.
This is where experience makes a difference. Raising one low section without checking the overall pitch can create a new high spot, a tripping edge, or runoff that drains in the wrong direction. On yards with slopes or recurring water issues, the repair may need to connect with broader grading, a retaining edge, or a drainage solution.
Add a thin bedding layer and reset the pavers
Once the compacted base is at the correct height, spread a thin, even layer of bedding material. Screed it smooth rather than packing it heavily. The bedding layer allows final adjustment of the pavers, while the compacted aggregate below provides the real structural support.
Reset the pavers in their original pattern, checking the surface frequently with a straightedge. They should sit flush with the surrounding patio, without sharp lips between stones. Tap them into position with a rubber mallet as needed, but avoid forcing a paver down into an uneven base.
After the stones are set, sweep jointing sand into the joints and compact the repaired section. Repeat the sanding process until the joints are filled. Properly filled joints help lock the pavers together and reduce movement at the repaired area.
When a DIY Repair Makes Sense
A homeowner can often handle a small, contained repair when the patio has only a few settled pavers, the base underneath is dry and firm, and there is no sign of a drainage issue. The work is manageable with basic tools, patience, and a careful eye for slope.
The trade-off is that patio repairs can reveal more than expected. What looks like a two-hour reset may expose a washed-out base, root intrusion, or an entire edge that was never properly restrained. Renting a plate compactor and buying aggregate for a small repair can also narrow the cost difference between doing it yourself and hiring a crew with the proper equipment.
Signs You Need a Professional Paver Repair
Call for an assessment when settlement is spreading, water is pooling near the home, pavers are heaving after winter, or the patio connects to stairs, a retaining wall, or a driveway. These conditions can involve drainage and structural details that should be corrected together.
Professional repair is also the better choice when the patio needs to match an existing pattern cleanly or when access is tight. An experienced hardscaping crew can lift and reinstall a larger section efficiently, compact the base correctly, manage grade changes, and leave the surrounding lawn and garden areas clean.
Right On Landscaping approaches paver repairs with the same focus used for new patios and walkways: identify the cause, prepare the base properly, use quality materials, and build for local weather. Homeowners should expect a clear explanation of the repair scope, the drainage considerations, and the work required to make the finished surface safe and durable.
Keep the Repair From Sinking Again
Once the patio is level, keep water moving away from it. Make sure downspouts do not discharge directly onto the pavers or at the patio edge. Watch for soil washing out beside the stone, especially after heavy rain, and keep joints filled so pavers remain interlocked.
A patio does not need to be perfectly flat to be well built. It needs a stable base, a controlled slope, and a surface that drains where it should. If your pavers are beginning to dip, addressing the issue while it is contained can protect the patio, improve safety, and prevent a small repair from becoming a full rebuild.