Interlock Walkway Installation That Lasts

A front walkway has a hard job. It guides guests to the door, handles daily foot traffic, and sits through every freeze, thaw, downpour, and snow-clearing season. A proper interlock walkway installation does more than improve curb appeal. It creates a safe, stable route that complements the home and holds its shape when Waterloo Region weather puts the ground to work.

The pavers are the visible part of the project, but the long-term result depends on what is underneath them. A walkway can look great on day one and still settle, spread apart, or collect water within a few seasons if the base, grading, and edge restraints were rushed. Good installation is not about laying stones quickly. It is about building a system that manages movement and drainage from the ground up.

Why Walkways Settle, Shift, and Hold Water

Most interlock walkway problems start below the surface. Soil in Kitchener, Waterloo, Cambridge, and nearby communities can hold moisture, expand during freezing conditions, and soften during spring thaw. When a walkway does not have adequate excavation and compacted base material, the pavers move with the ground instead of remaining evenly supported.

Poor drainage creates another common issue. Water that runs toward the house, pools beside the path, or sits beneath pavers can weaken the base over time. A walkway should direct surface water away from the home while fitting naturally into the rest of the yard’s grading. That may mean adjusting the slope, tying the path into a patio or driveway, or addressing low areas before stone is installed.

Edge restraint also matters more than many homeowners expect. Without a secure edge, pavers can slowly push outward under foot traffic, frost movement, and snowblower use. The joints open, the border loses its line, and the walkway begins to look worn even when the individual pavers are still in good condition.

Planning an Interlock Walkway Installation

The best route is not always the shortest line from the driveway to the front door. A walkway should feel natural to use, provide enough room for people to walk comfortably, and work around gardens, stairs, downspouts, and existing landscaping. For a main entry path, a wider layout often feels more welcoming and practical than a narrow strip of pavers.

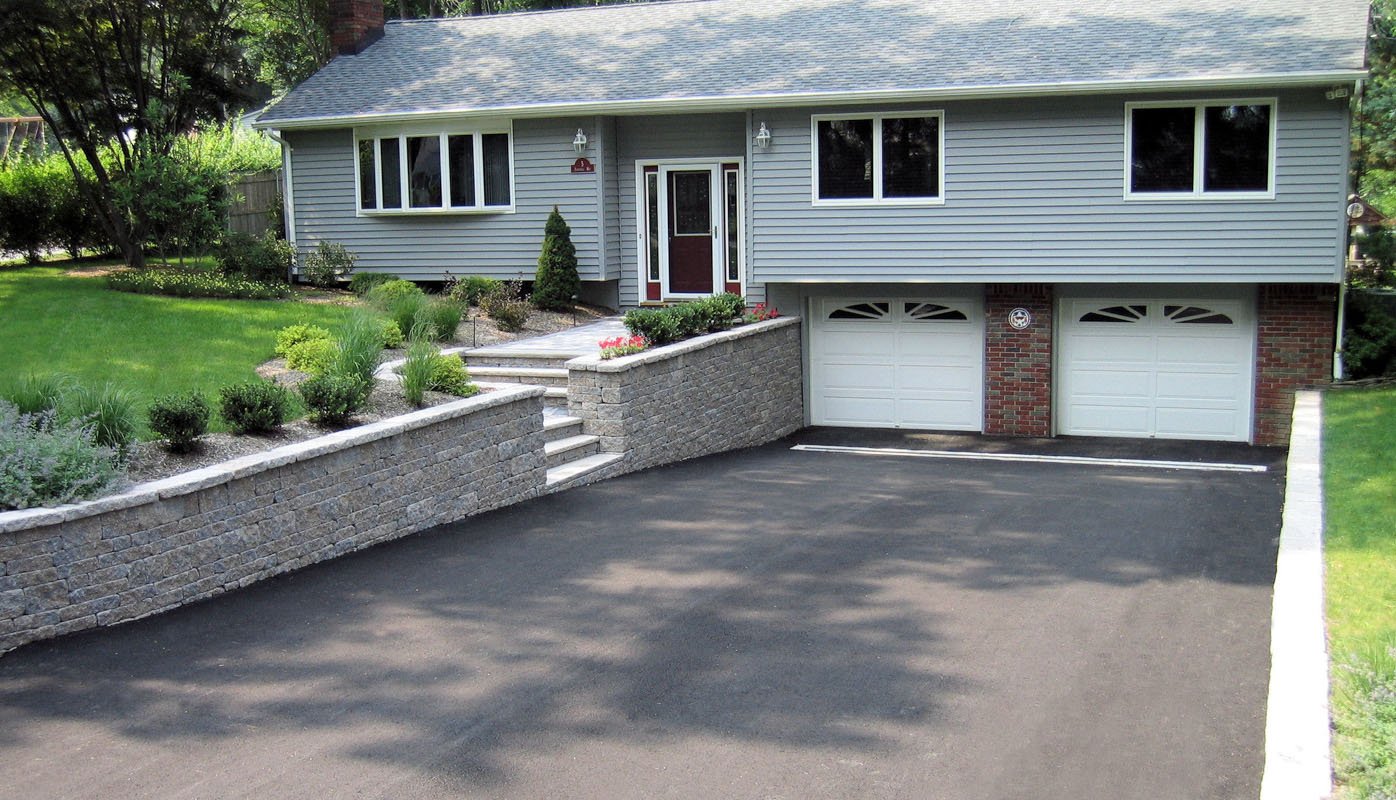
Before installation begins, the site needs a clear plan for elevation. The finished walkway must meet nearby surfaces properly without creating a trip edge at a driveway, porch, or front step. If it connects to an outdoor staircase, the rise and landing need to be considered together. This is especially important on sloped properties, where a path may need retaining, steps, or a gradual change in grade rather than an awkwardly steep run.

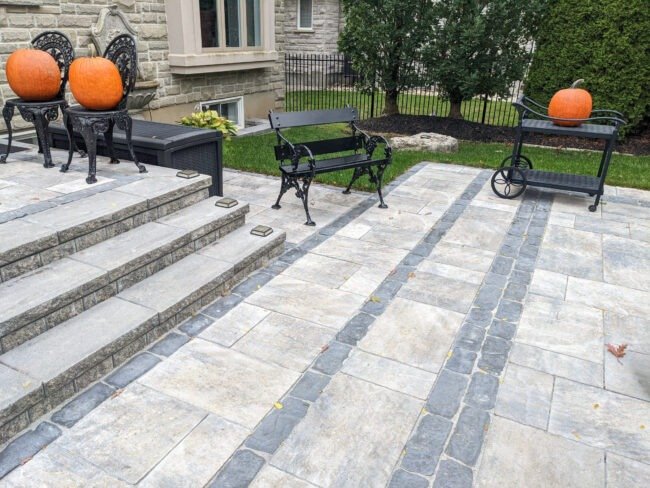
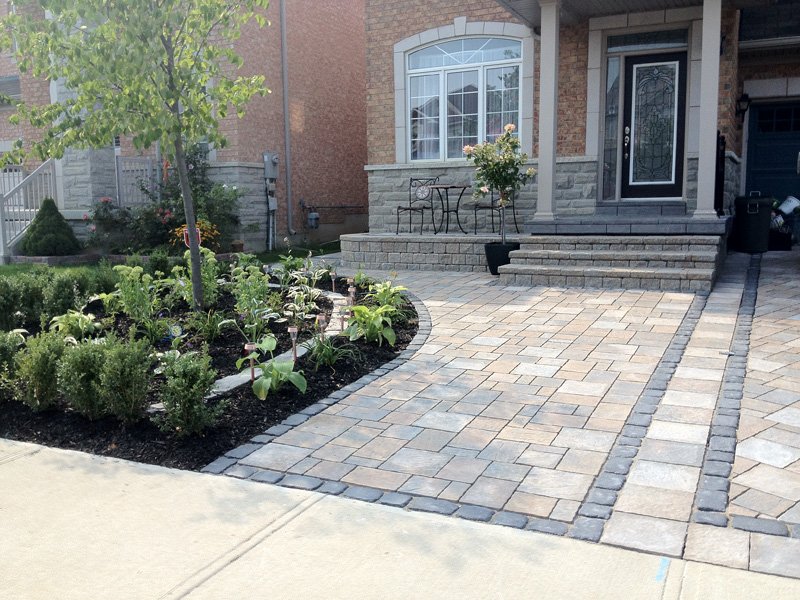
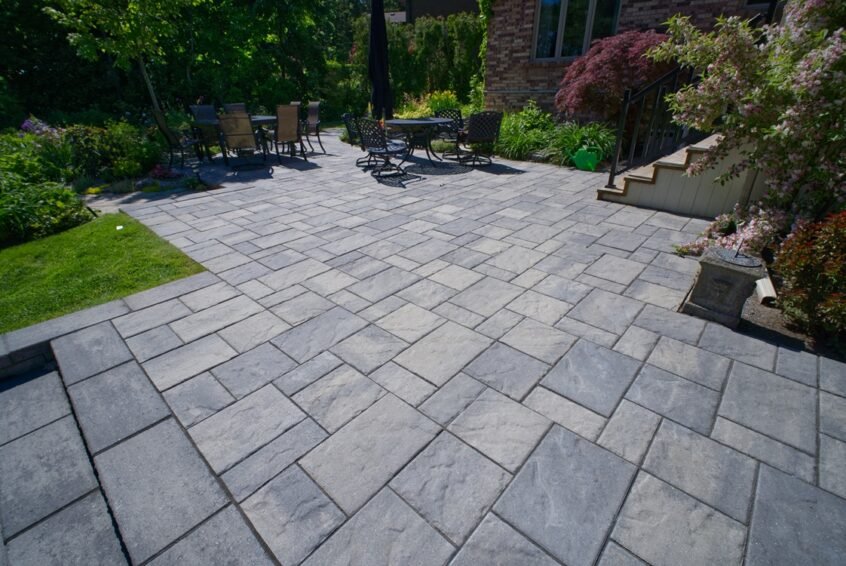
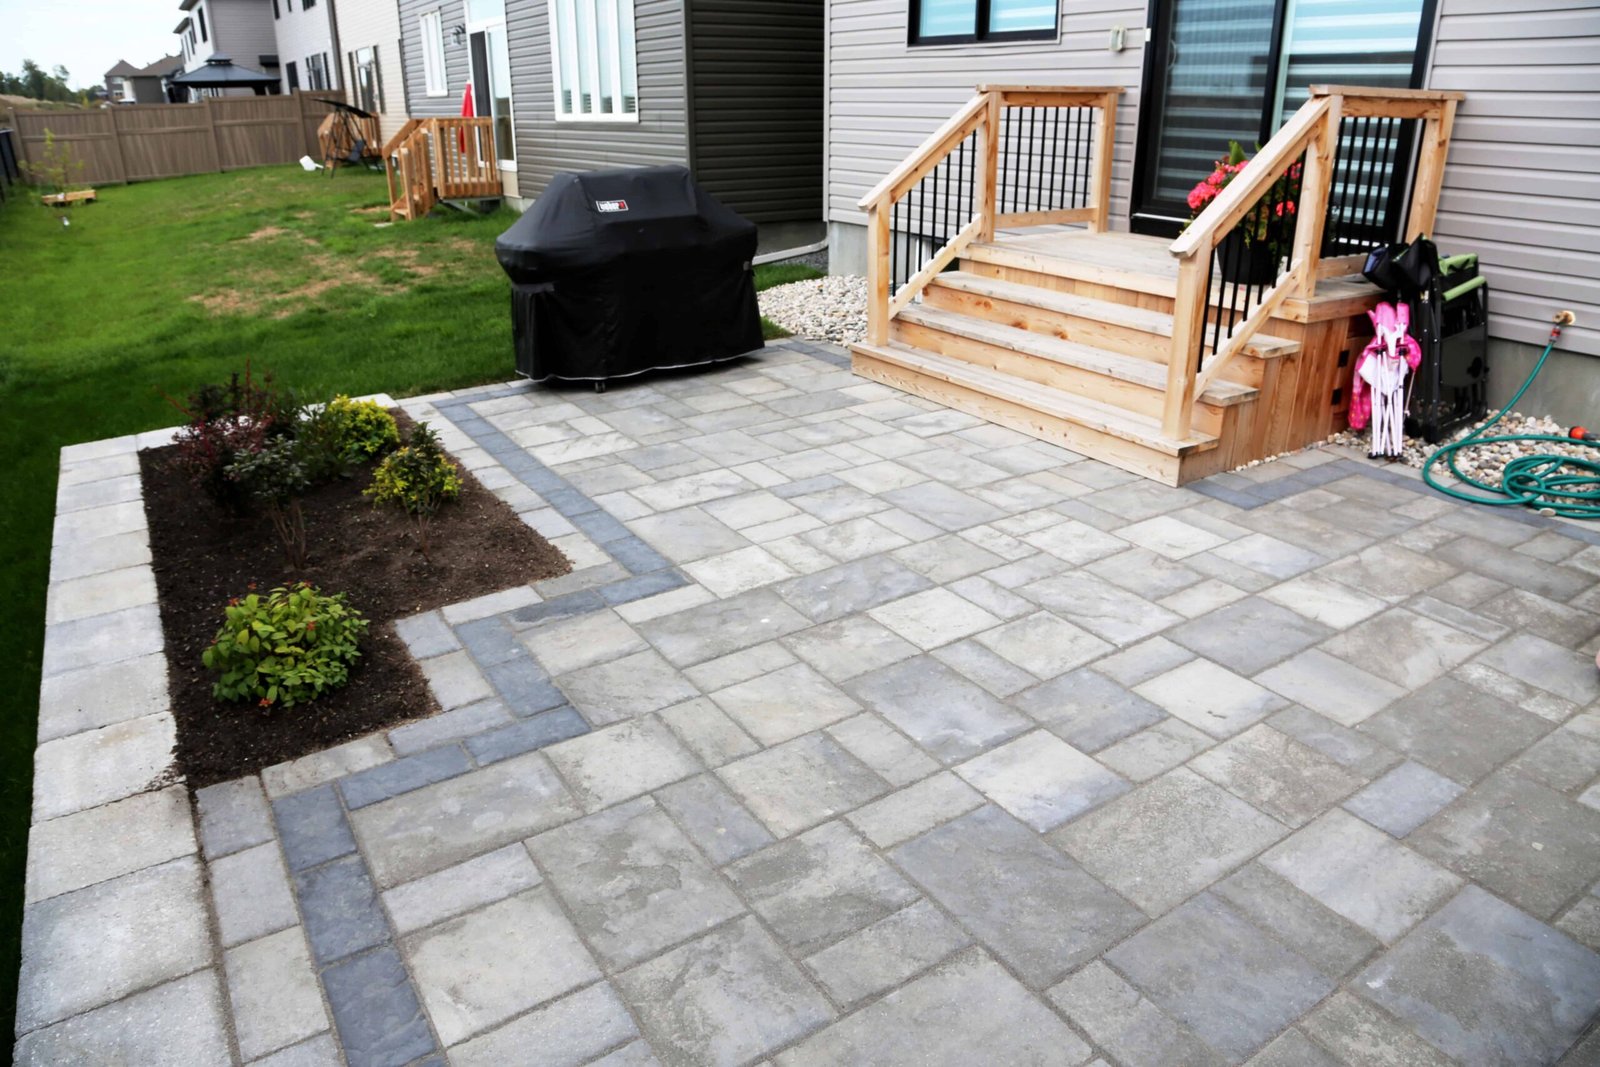
Design choices should suit the home as well as the budget. Clean rectangular pavers can give a traditional house a crisp, dependable look. Tumbled or textured pavers may better suit a more relaxed garden setting. A contrasting border can define the walkway and help connect it visually to an interlock driveway or patio, but it is not required for every project. A simple, well-installed path usually adds more value than an elaborate pattern built on a weak base.

The Base Is Where Long-Term Value Is Built

A durable walkway begins with excavation to the required depth. The depth depends on soil conditions, planned height, drainage needs, and how the walkway connects to surrounding areas. The goal is to make room for a properly compacted granular base, bedding layer, and pavers while maintaining the correct finished elevation.

The exposed subgrade should be shaped and compacted before granular material is added. From there, the base is installed in controlled layers and compacted thoroughly. Adding one deep layer of aggregate and compacting only the top may leave loose material below, which can settle later. Layered compaction takes more care, but it is one of the clearest differences between a walkway built to last and one that needs early repair.

Once the base is stable and graded, a thin bedding layer is screeded to provide an even setting surface for the pavers. The pavers are then placed in the selected pattern, cut cleanly around curves or borders, and secured with edge restraint. Jointing sand is swept into the joints and compacted so the stones interlock as a finished surface rather than acting like separate pieces.

This work is not glamorous, but it protects the investment. Homeowners understandably focus on paver color and pattern. An experienced installer focuses just as closely on compaction, slope, cuts, and transitions because those details determine whether the walkway remains level through Ontario winters.

Drainage Should Be Designed Into the Path

Water should never be an afterthought. A walkway needs enough pitch to shed surface water without feeling noticeably sloped underfoot. The exact direction depends on the property, but water should generally move away from the foundation and avoid creating puddles in lawns, garden beds, or along the driveway.

Downspouts deserve special attention. If a downspout empties directly beside a path, the concentrated flow can wash out jointing sand, saturate the base, and create icy areas in winter. Extending the discharge, adjusting the grading, or incorporating a suitable drainage solution may be necessary before the walkway is finished.

Permeable pavers can be worth considering in certain locations. They allow water to move through the joints into a specially prepared base, helping manage runoff. They are not automatically the right choice for every home. The base design, soil conditions, maintenance expectations, and surrounding drainage all need to support the system. For many residential walkways, standard interlock pavers with proper slope and site grading are the practical choice.

Choose Materials for Use, Not Just Appearance

Pavers should be selected for exterior use and local weather conditions. Quality concrete pavers offer strong performance, a broad range of colors, and the ability to repair smaller sections if underground work or future settling ever requires access. Natural stone can create a distinctive finish, but it may involve a higher material cost and different installation requirements.

Color is also a practical decision. Very light pavers can show dirt and road salt more easily near a driveway, while very dark colors may show dust or develop noticeable heat in sunny areas. A blended tone often hides everyday wear well and works with brick, siding, or stone on the house.

The right material also depends on who uses the path. A front walkway used by children, older family members, and visitors should have a stable, slip-conscious surface and clean transitions at every step. Decorative gravel may suit a garden path, but it is rarely the best answer for the main route to the front door, especially during winter.

When Steps, Borders, and Landscaping Meet the Walkway

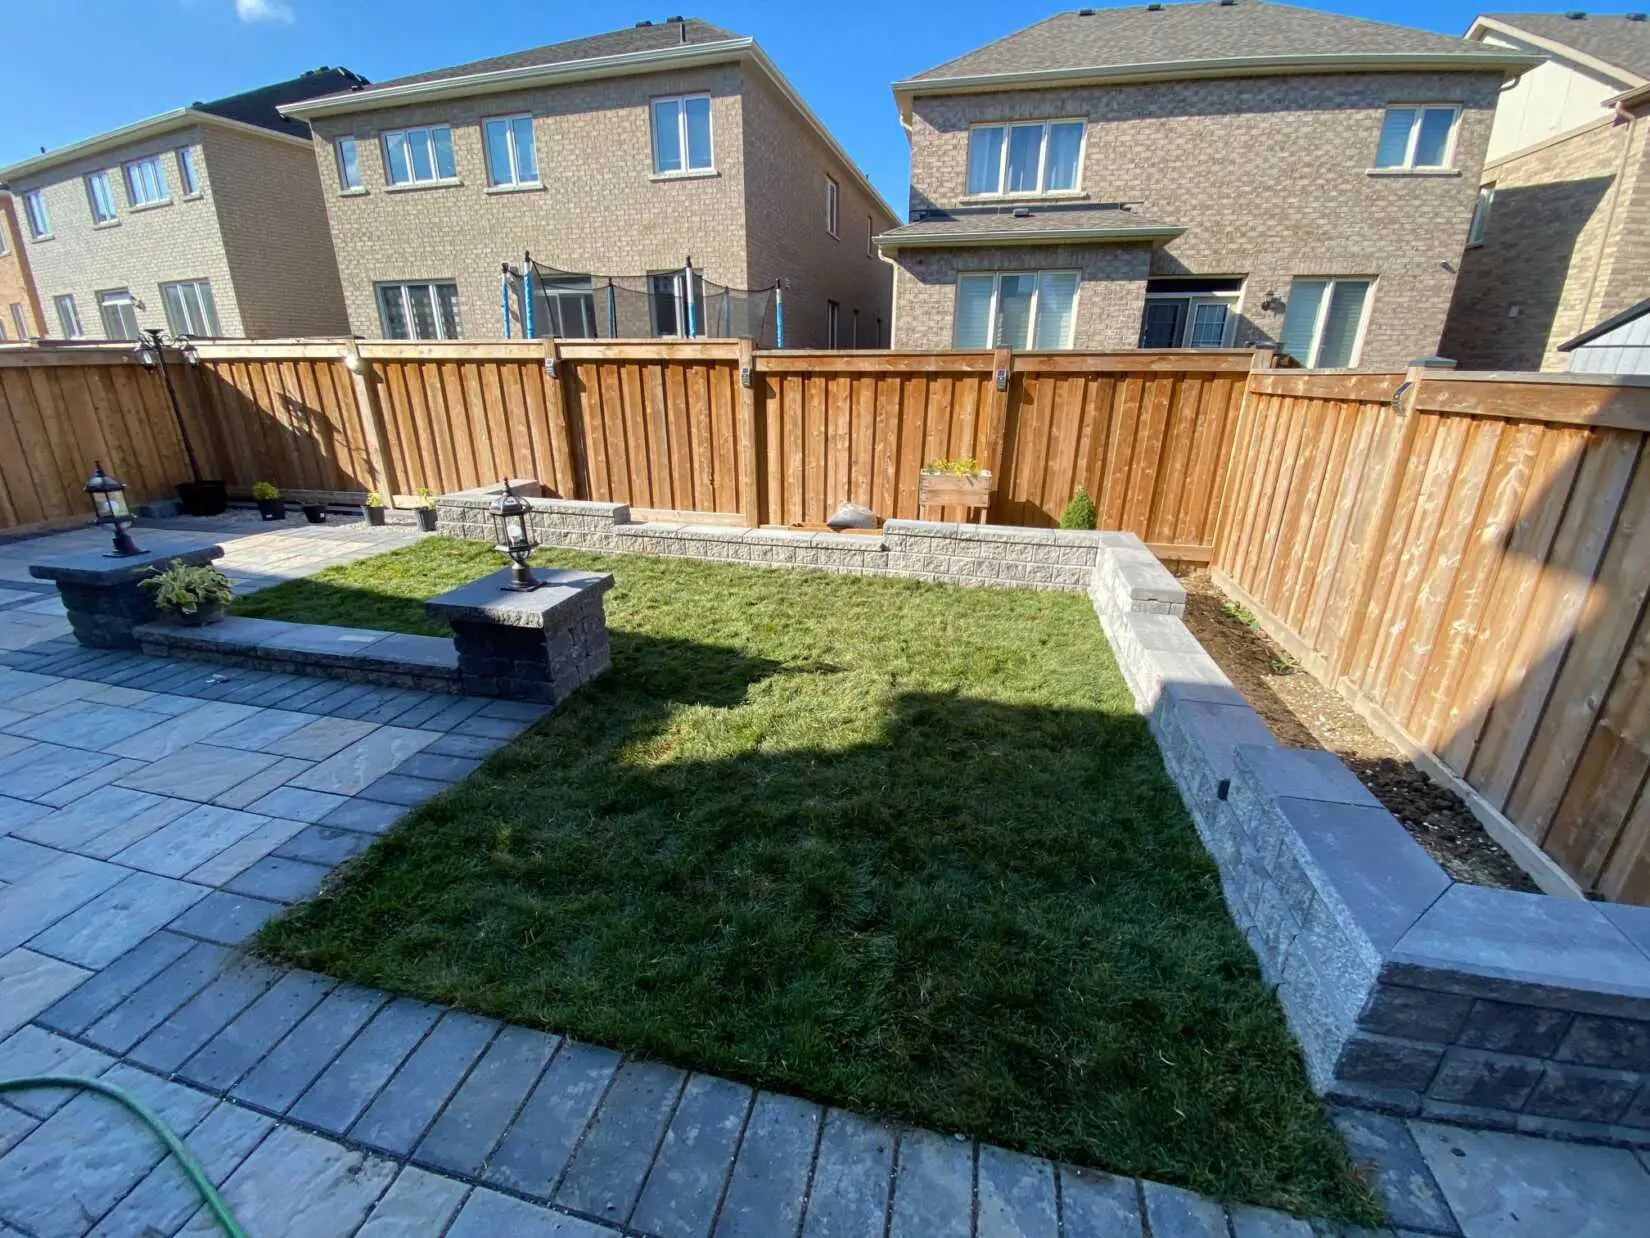
A walkway rarely stands alone. It may meet a front porch, wrap around a garden bed, run beside a retaining wall, or lead into a backyard patio. These connections need to be planned before the first paver is installed, not improvised at the end.

For example, a raised garden bed can help frame a path, but it must not block drainage or force water toward the house. River rock can manage splash near a downspout, but it should be contained so stones do not migrate onto the walking surface. If the route includes stairs, the steps should be built on a stable base with consistent rise and tread dimensions. A beautiful walkway is not much use if the transition at the steps feels uneven or unsafe.

Right On Landscaping approaches these details as part of the overall outdoor space. The finished path should look connected to the lawn, planting areas, driveway, and entrance while remaining easy to maintain and safe to use.

Repair or Replacement: Which Makes More Sense?

Some walkway issues can be repaired without rebuilding everything. A small low spot, loose border, or localized section disturbed by utility work may be lifted, regraded, and reinstalled if the surrounding base remains stable. Replacing damaged pavers is also straightforward when matching material is available.

Widespread sinking, recurring puddles, large gaps, or a path that slopes toward the home usually point to a deeper base or drainage problem. In those cases, resetting the visible pavers without correcting the foundation below only delays the same issue. Full replacement costs more upfront, but it gives the project a chance to address excavation, compaction, and grading correctly.

A clear on-site assessment is the best starting point. Homeowners should know whether the quote covers removal and disposal of existing material, base depth, compaction, drainage adjustments, paver supply, edging, cuts, and final cleanup. Transparent scope details make it easier to compare estimates and avoid surprises after work begins.

Start With a Walkway That Fits Your Property

A well-built interlock walkway should feel simple once it is complete: level underfoot, properly drained, easy to maintain, and suited to the home. That simplicity comes from careful planning and hands-on installation work beneath the surface. A free on-site estimate is a practical way to review the route, drainage, material options, and budget before choosing a path that will keep working season after season.

Similar Posts