Interlock Driveway Paving Services in Kitchener, Cambridge and Waterloo
Reliable, High-Quality Interlock for Your Home

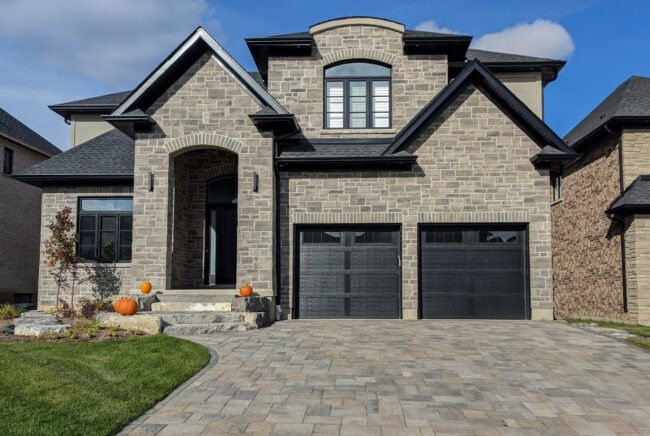
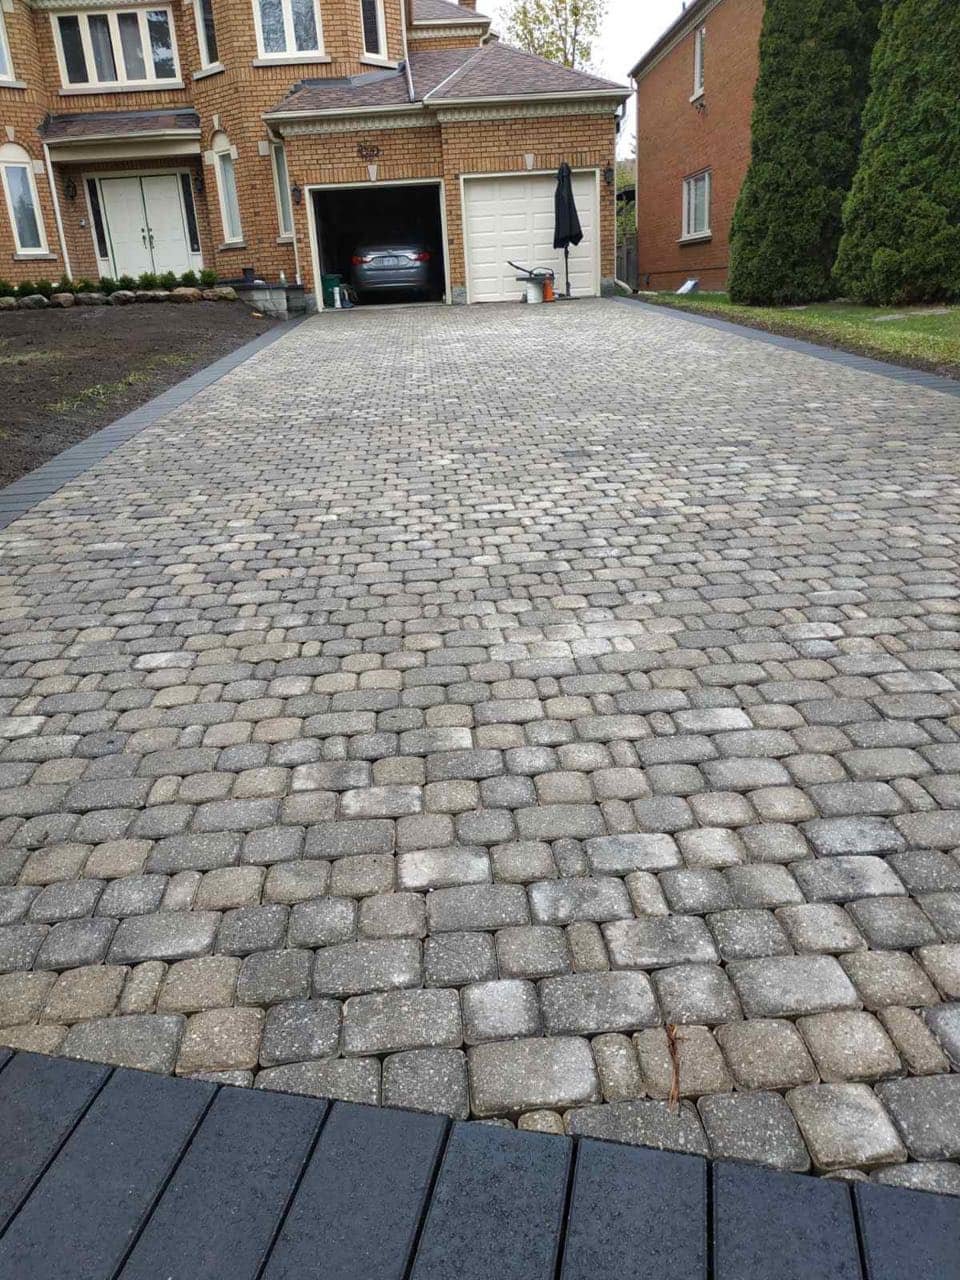
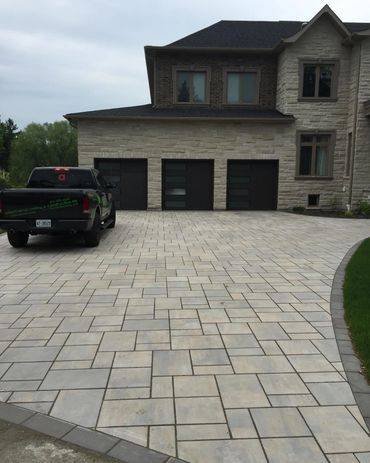
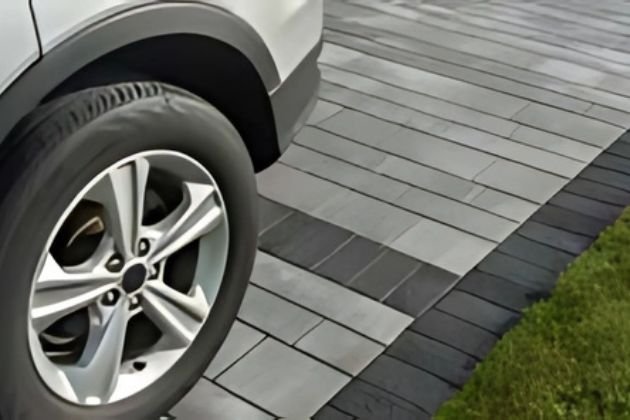
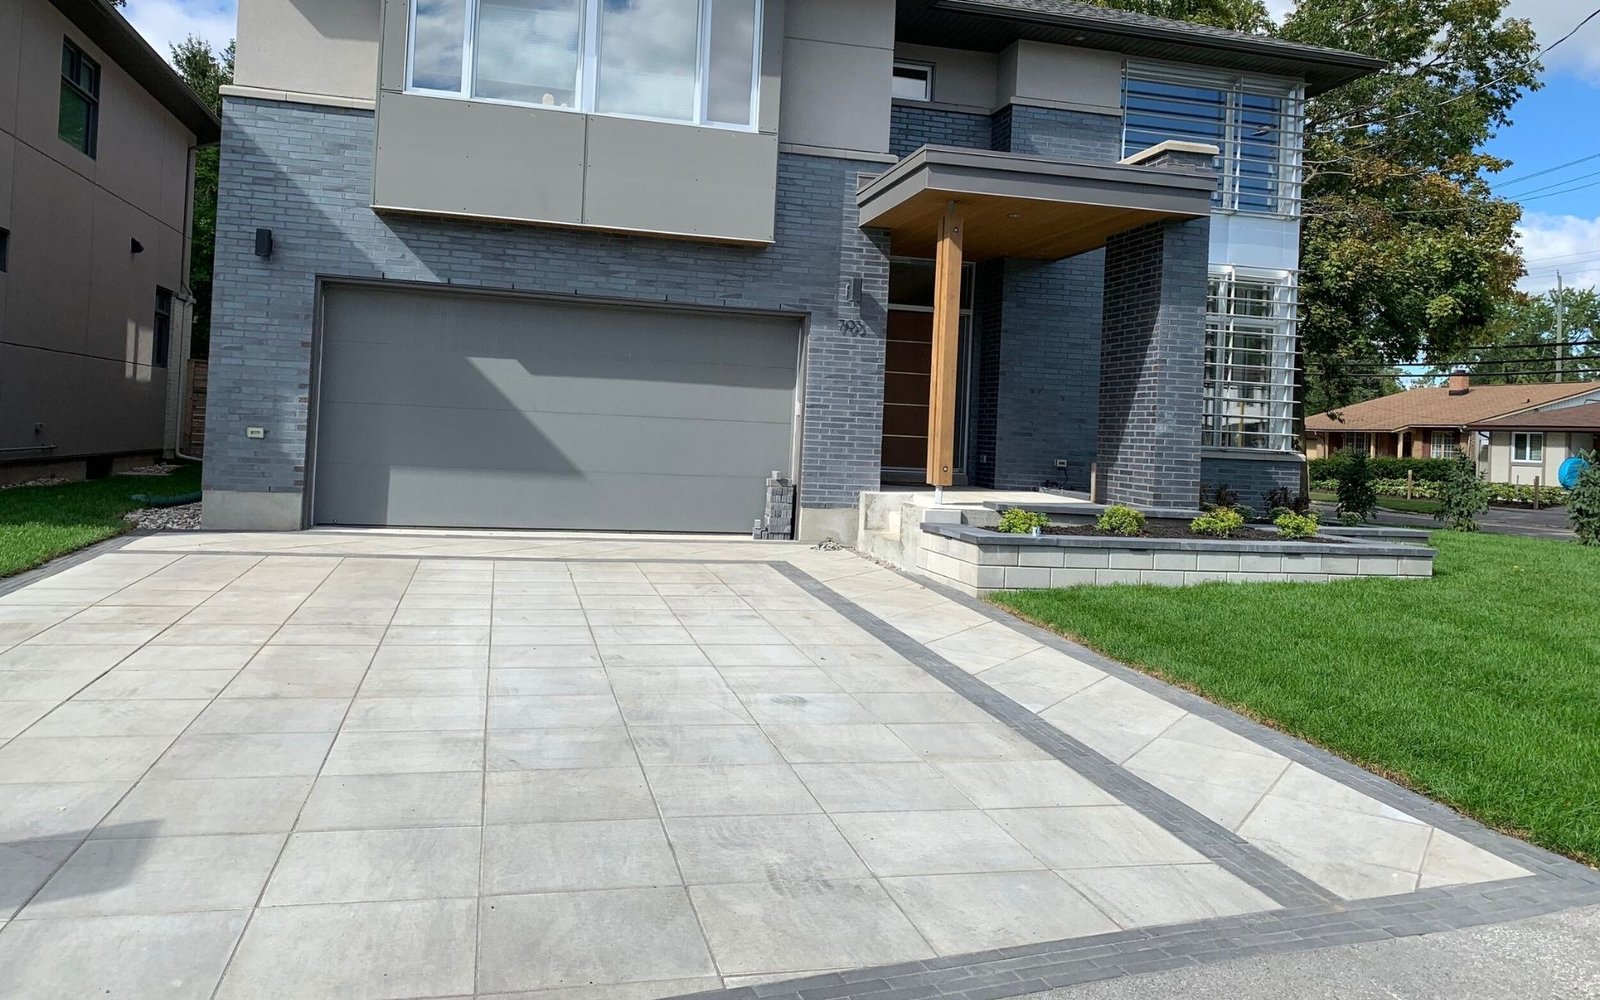
Durable Interlock Driveways
Tired of cracked concrete or boring asphalt? Our custom interlock driveways offer a blend of beauty and durability that’s perfect for Canadian homes. With a wide selection of styles, colors, and patterns, we’ll create a driveway that not only boosts your curb appeal but also stands up to snow, salt, and everyday wear, year after year.
The Interlock Standard Guide
Our Interlock Guide
Step 1
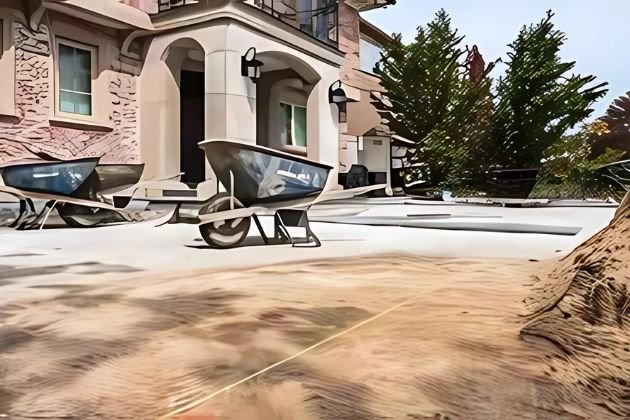
1. Preparation
The location of the patio, walkway or driveway should be marked out first.
Utilities, phone companies and cable TV providers should then be contacted to locate buried cables and/or services.
Step 2
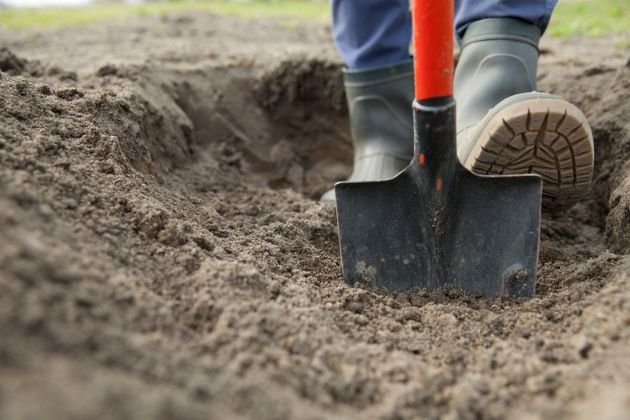
2. Excavation
The depth of excavation depends on soil type. Clay soil requires deeper excavation; sandy soil requires less. On average 6″ to 12″
Step 3
3. Base
The excavated area is filled with a gravel base and compacted
using a gas-powered plate compactor in layers 2″ – 3″ thick. All
installations should be sloped away from the house/building for proper drainage.
Step 4
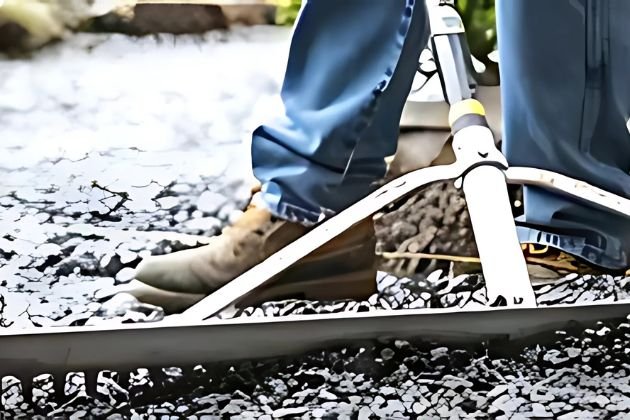
4. Screeding
Pavers are laid on a 1″ thick bed of
coarse sand or a 1/8″ open- graded chip placed directly on the compacted base. One-inch diameter pipes are often used as screeding guides on top of the gravel.
This bedding layer allows pavers to be leveled for smoothness and drainage.
Step 5
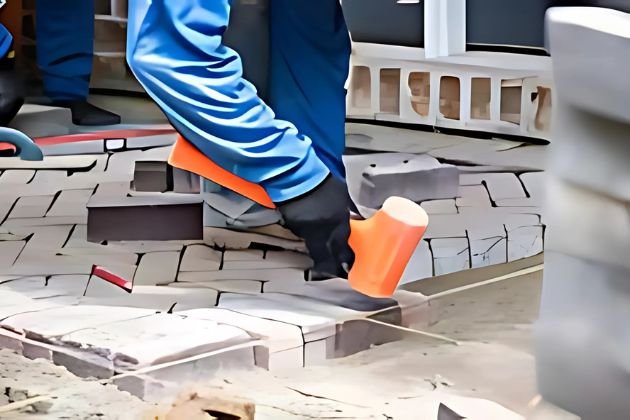
5. Laying The Pavers
Pavers are laid in the desired pattern directly on the screeded bedding material. String lines help to keep the joint lines straight. During this process walk on the pavers, not the screed bed.
Step 6
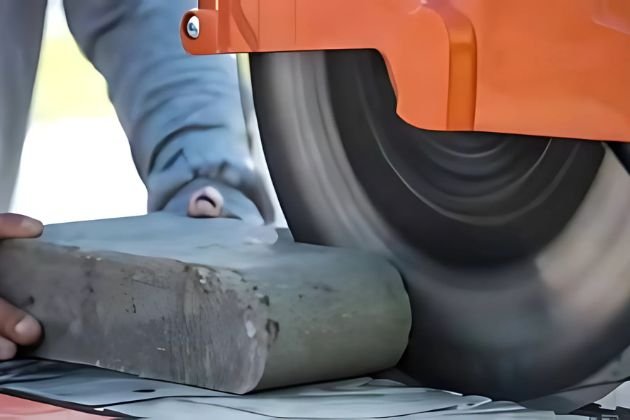
6. Cutting
Pavers that do not fit along edges or around objects require cutting. Pavers are cut with a guillotine cutter or masonry saw. Proper safety gear must be worn while cutting and dustless or wet saws should be used to limit airborne silica.
Step 7
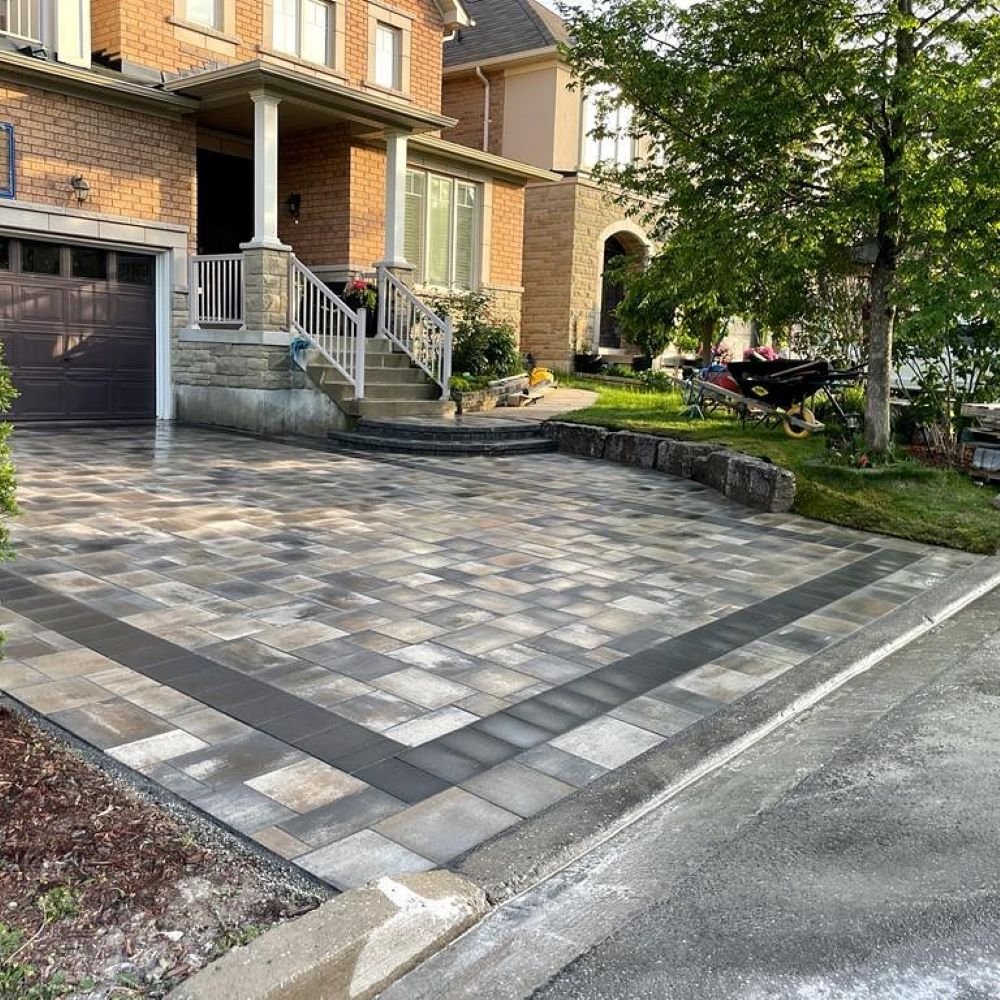
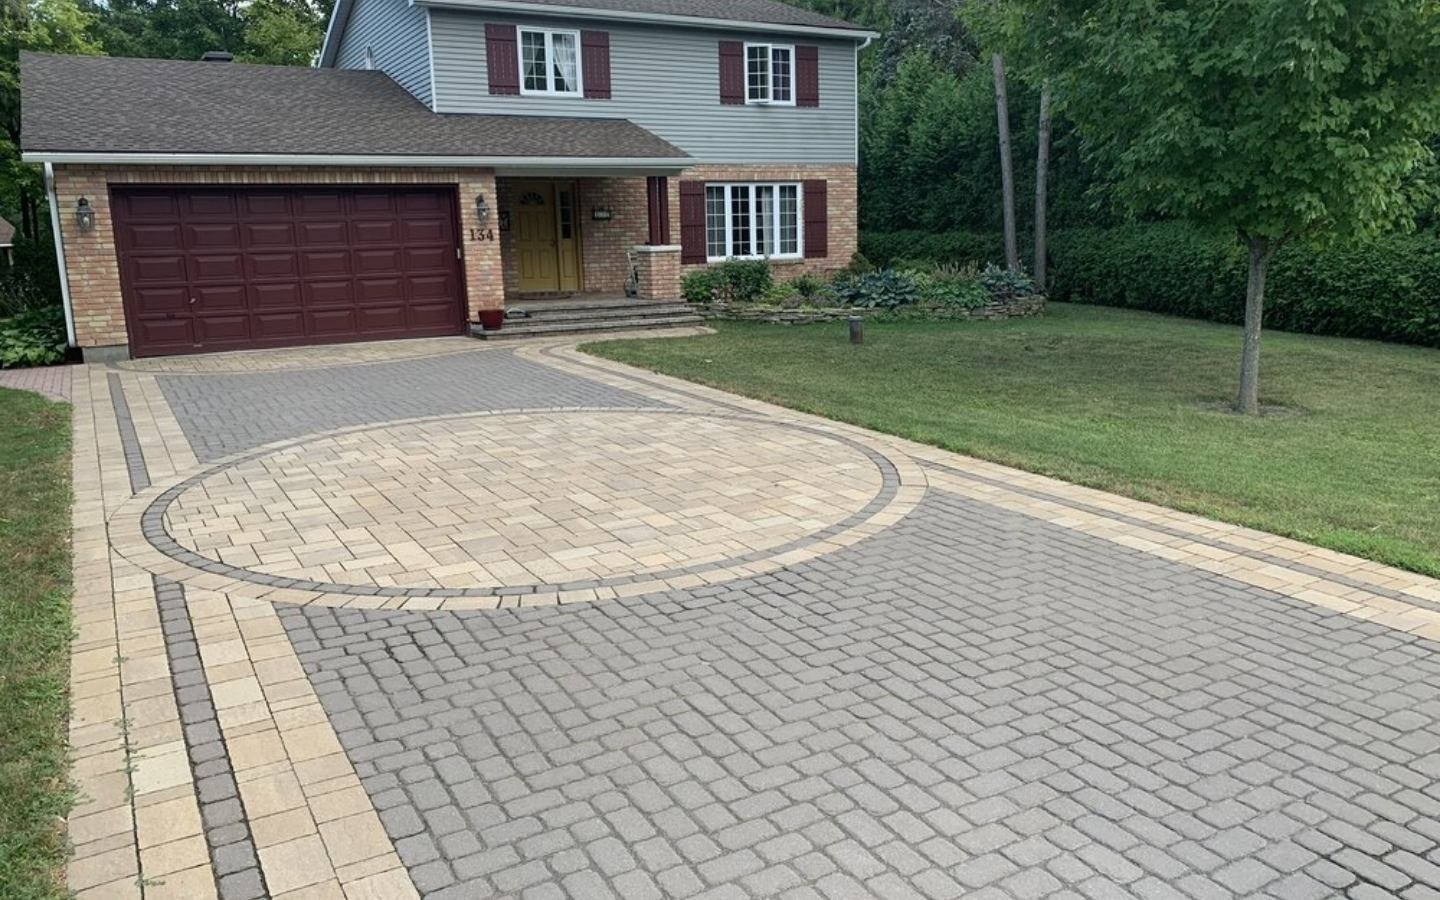
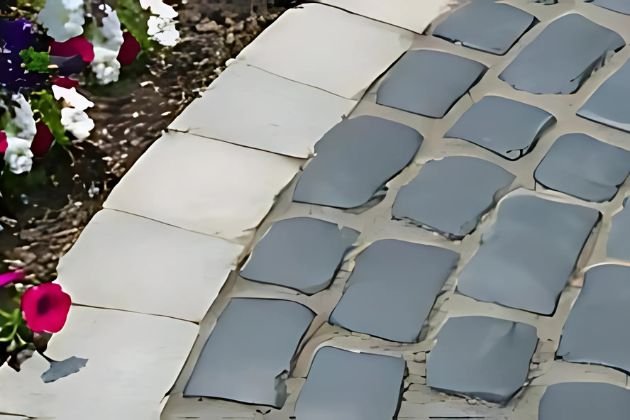
7. Accents
Use contrasting colors, textures and patterns to make accents.
Accents are easy to install and make your installation unique. They are often laid first before installing the main pattern.
Step 8
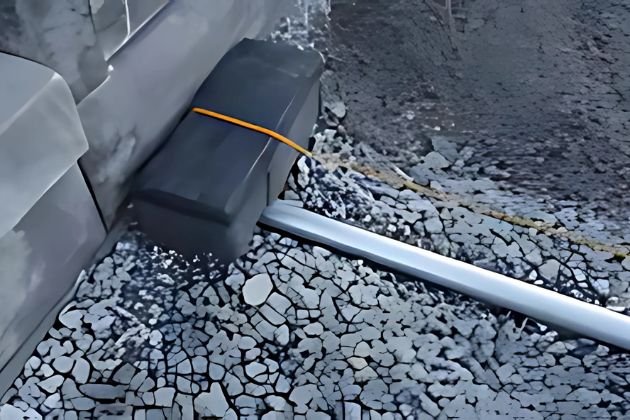
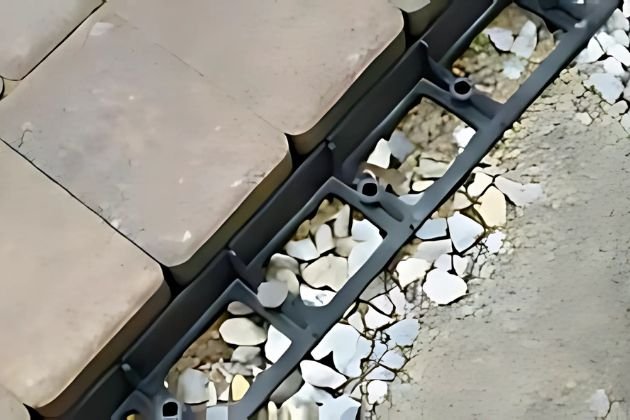
8. Edge Restraint
Edge restraints are a critical element in terms of the durability of a paver installation. They prevent the pavers from moving and shifting laterally. Both plastic and metal edge restraints are effective. Edge restraints must always be spiked into the compacted base. Various concrete edging materials also work well.
Step 9
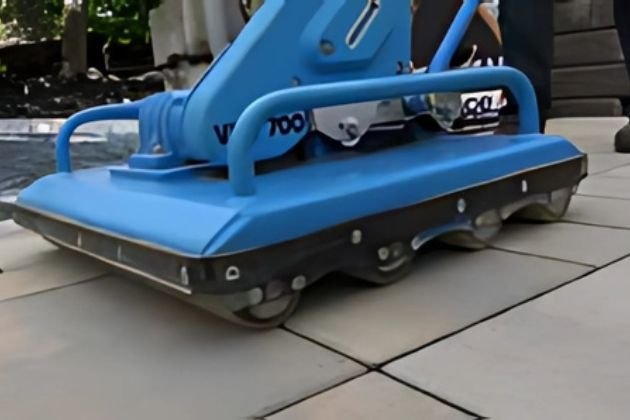
9. Compacting
After all the cuts have been made, and the edge restraints are in place, the pavers must be swept clean and then compacted with a plate compactor. This helps settle the pavers into the bedding material and creates a flat surface.
Step 10
10. Joint Material
Joint material plays an important role between pavers, in keeping weeds and other debris out. Your contractor can help you decide which joint material is right for your project.are effective. Edge restraints must always be spiked into the compacted base. Various concrete edging materials also work well.
Step 11
11. Sealing
Some homeowners choose to apply a sealer to enhance the color of the pavers, while others choose to appreciate the colors as they are. If you choose to seal, you should plan to reseal
every 3-5 years. Always test sealer in a small hidden area to make sure you are satisfied with the results.are effective. Edge restraints must always be spiked into the compacted base. Various concrete edging materials also work well.
Why Choose Us for Interlock Driveways?
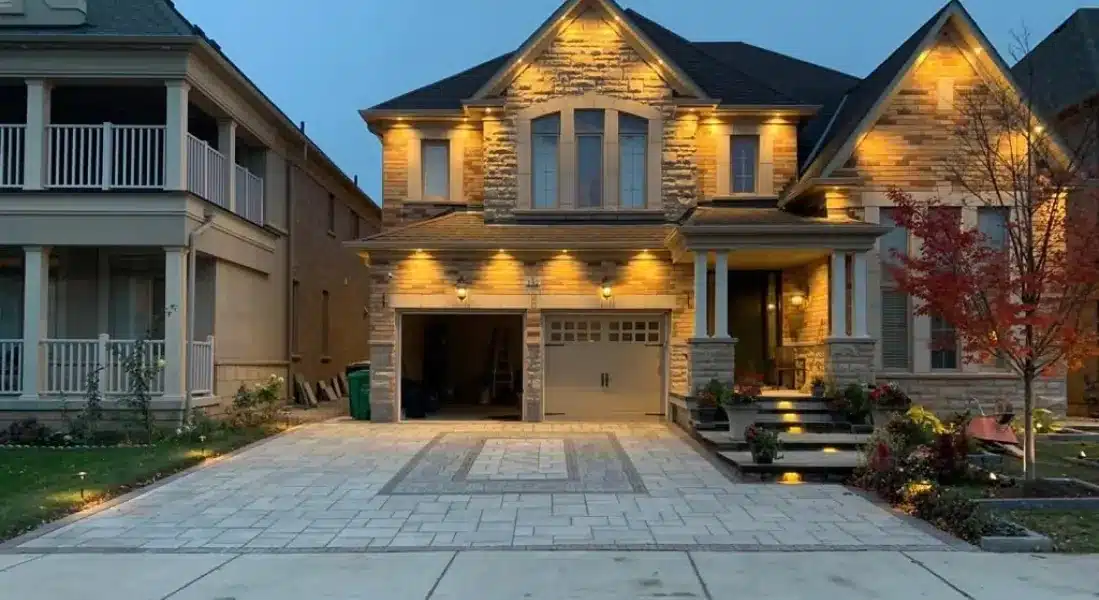
- Custom Designs That Fit Your Home: We match your driveway to your home’s style with a wide range of patterns and colors.
- Built for Canadian Weather: Our interlock is installed to handle freezing temps, heavy snow, and salt—no cracking or shifting.
- Expert Craftsmanship: Every driveway is built with care, using proper base prep and precise installation techniques.
- Low Maintenance, Long Life: Enjoy a clean, polished look that stays looking great with minimal upkeep.
What We Offer
We don’t just install interlock driveways—we guide you through a smooth, stress-free process from start to finish. Our goal is to give you a finished driveway that feels like you, looks incredible, and lasts for years—with no surprises along the way.
Services Include:
- Personalized Consultations
- Clear, Honest Quotes
- Fast, Reliable Scheduling
- Aftercare You Can Count On