Professional Retaining Wall Services in Kitchener, Cambridge and Waterloo
Request A Free Estimate Now

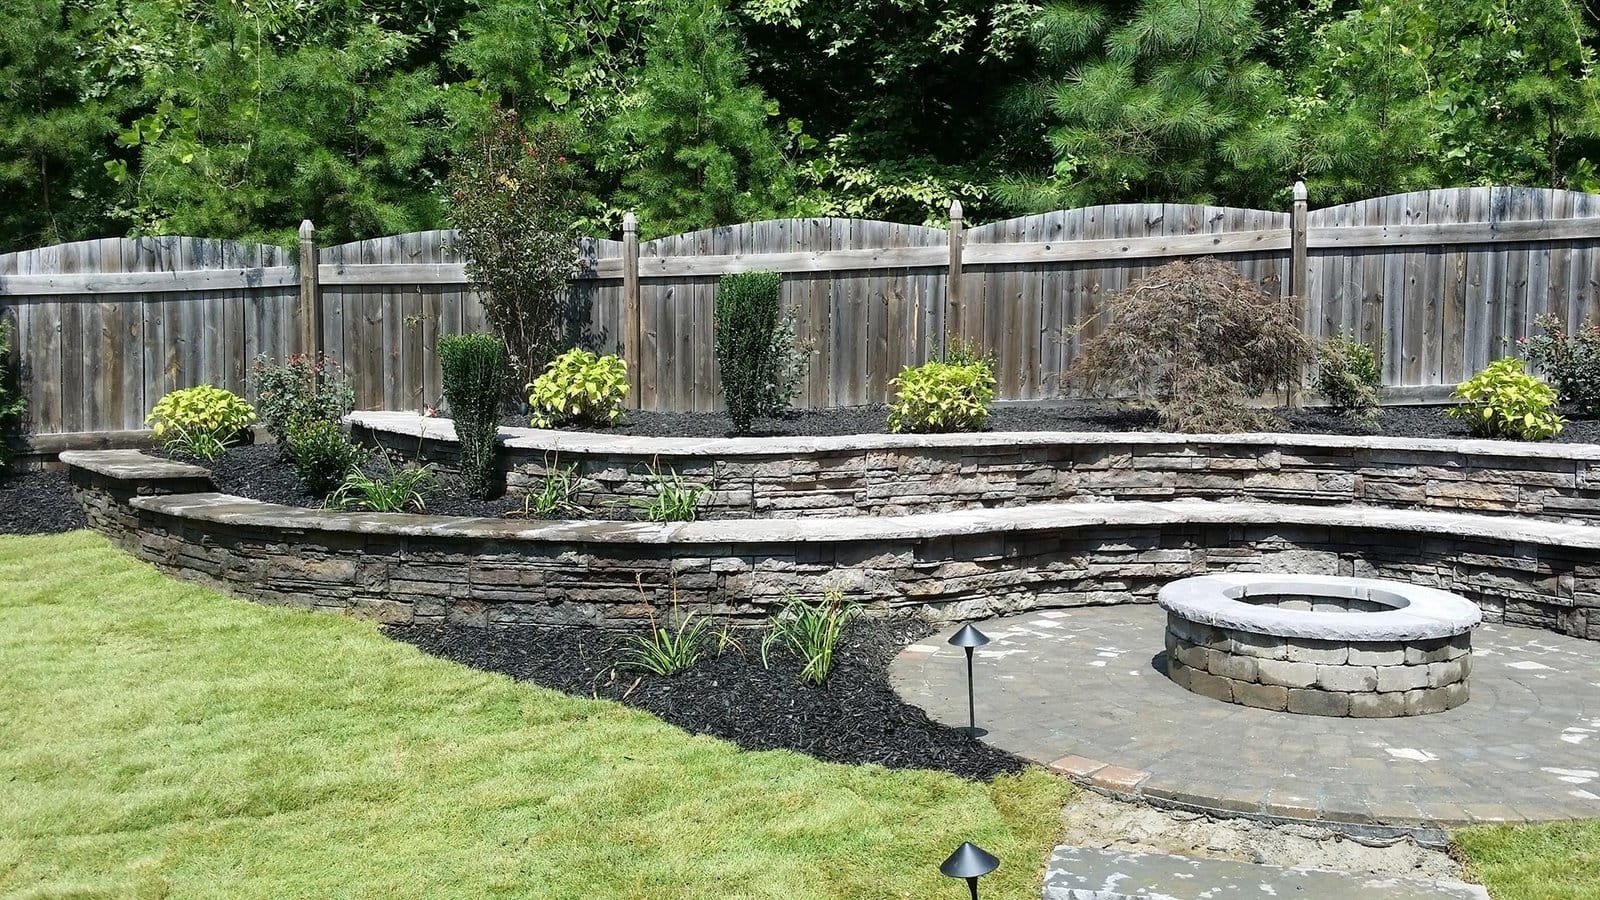
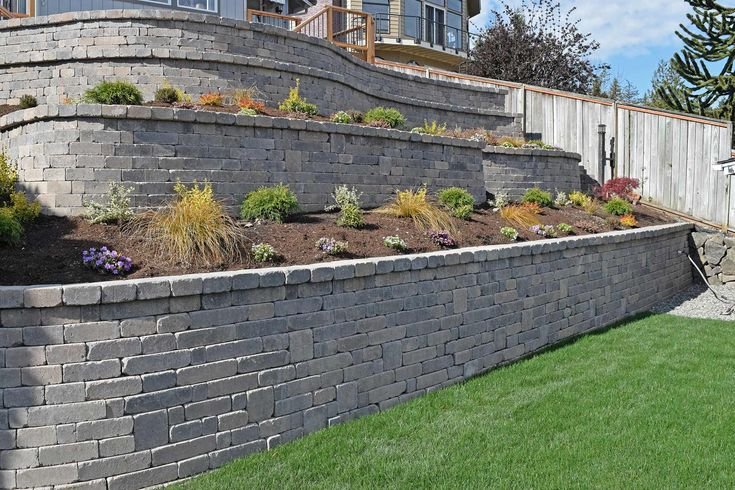
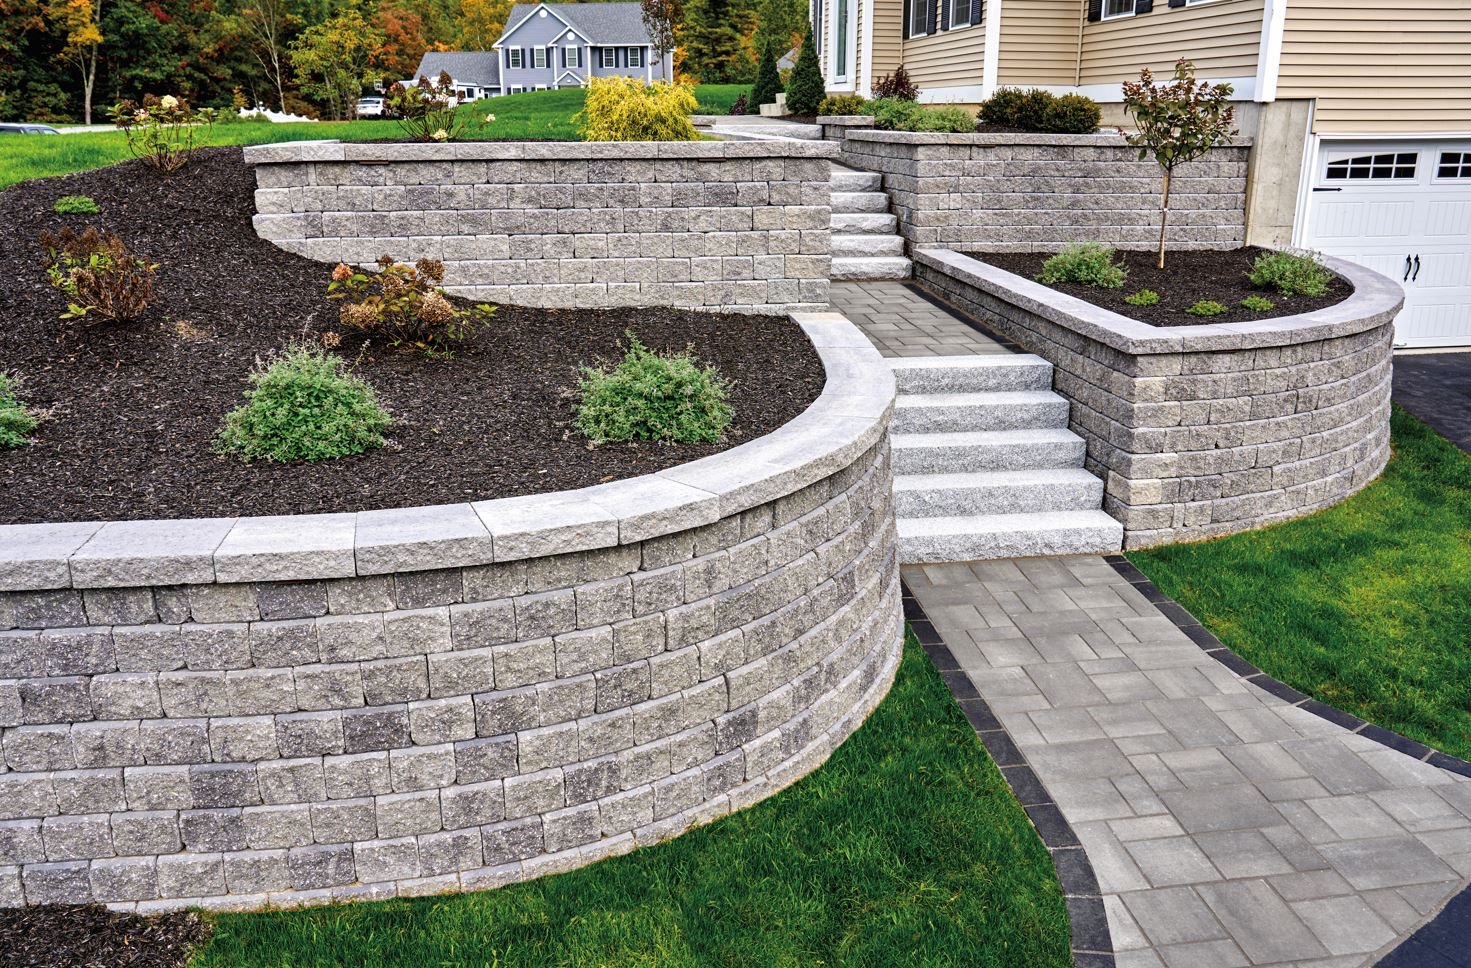
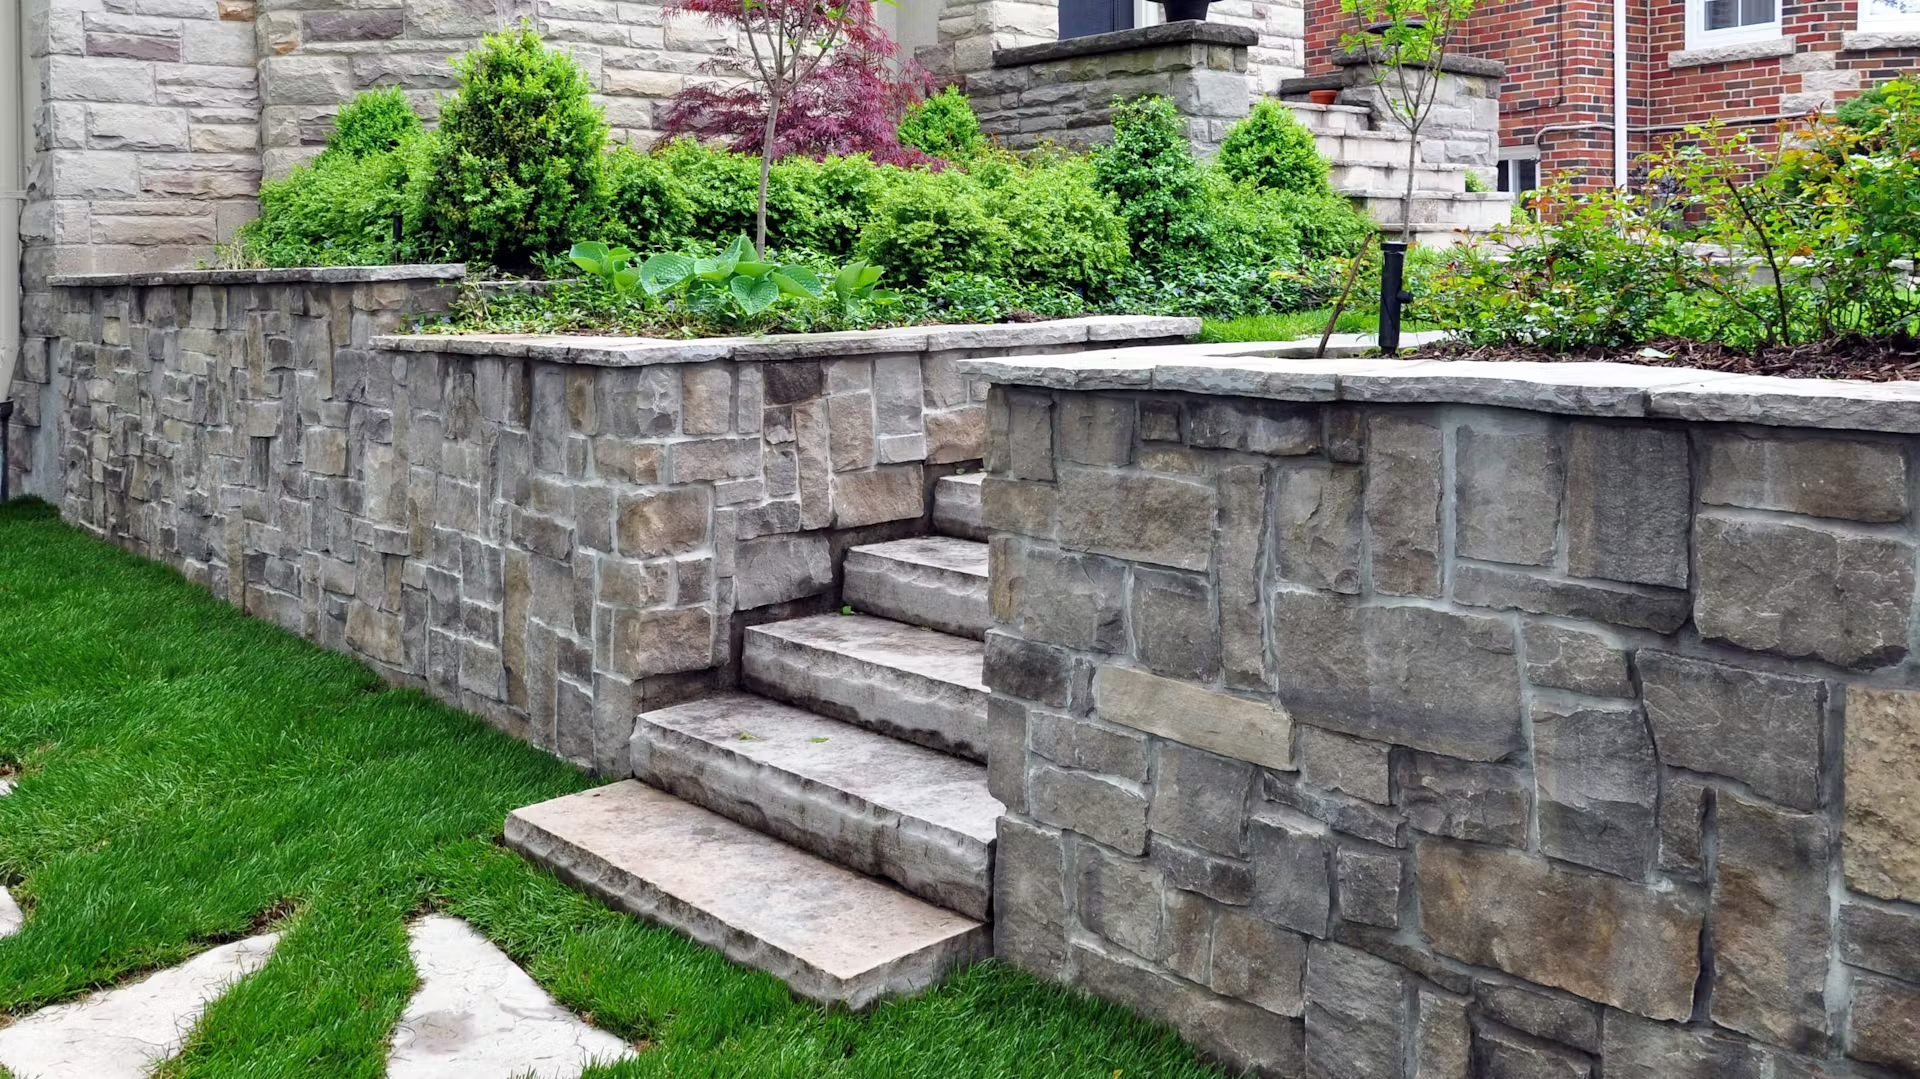
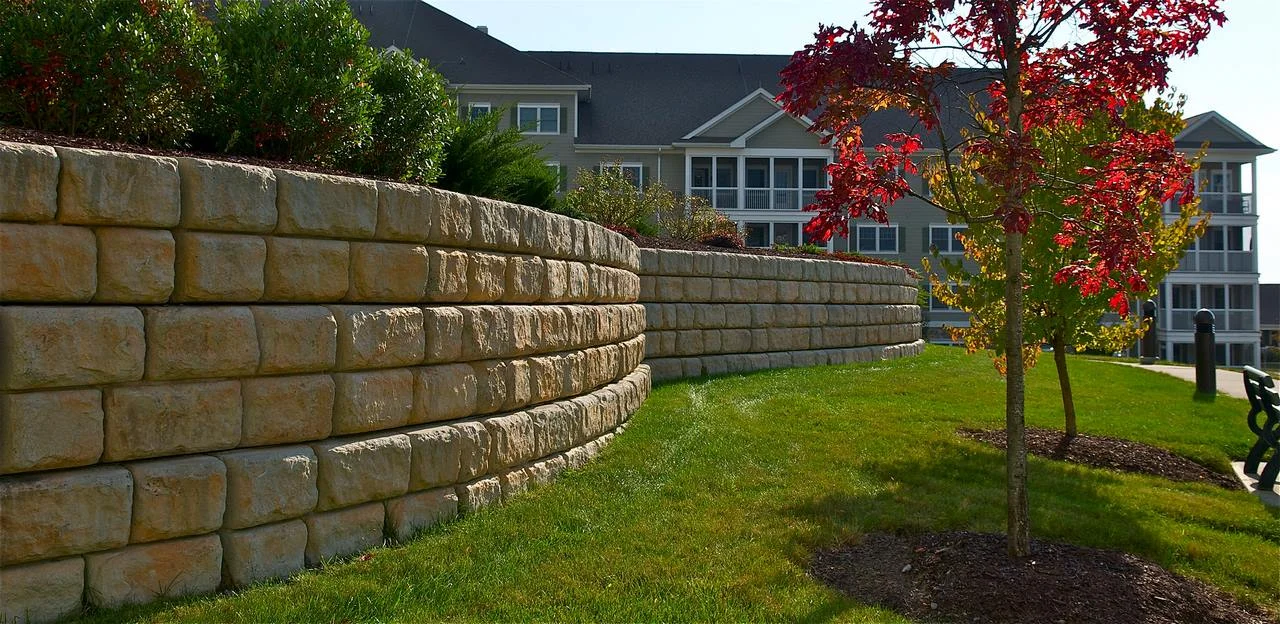
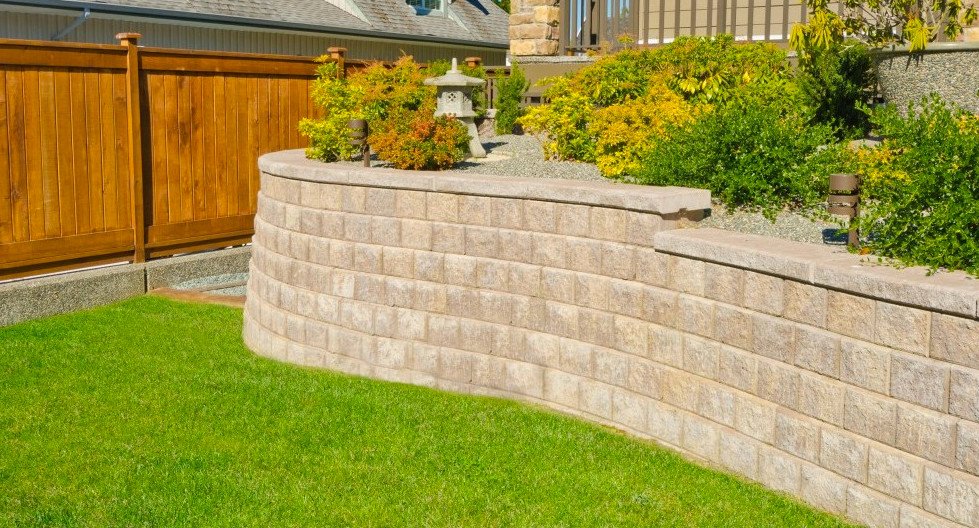
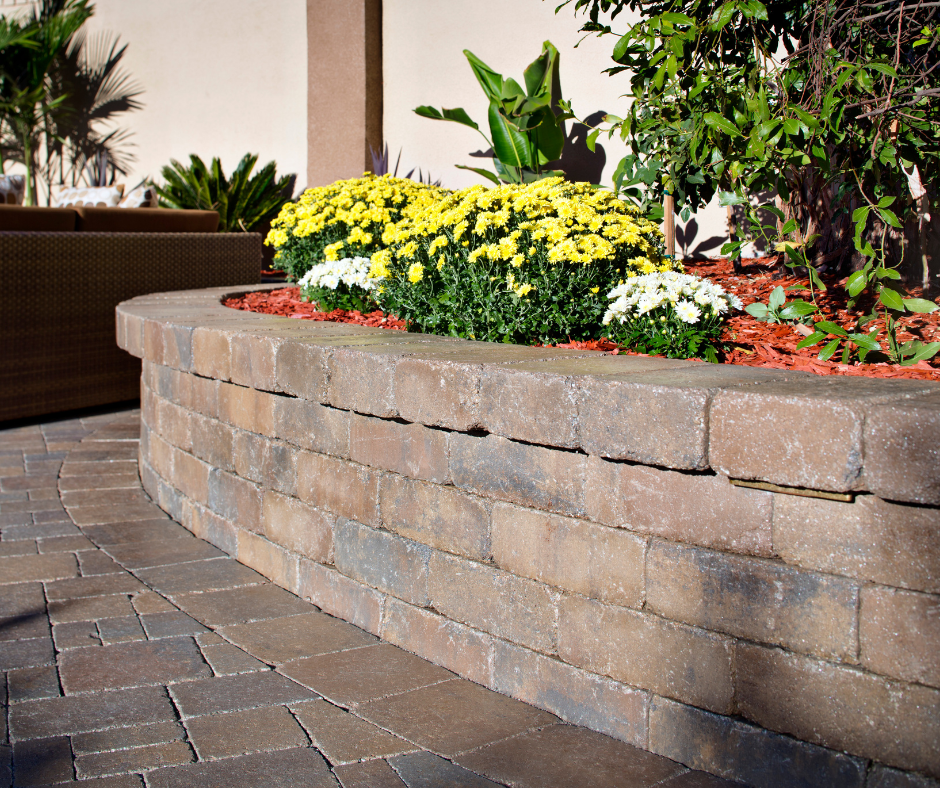
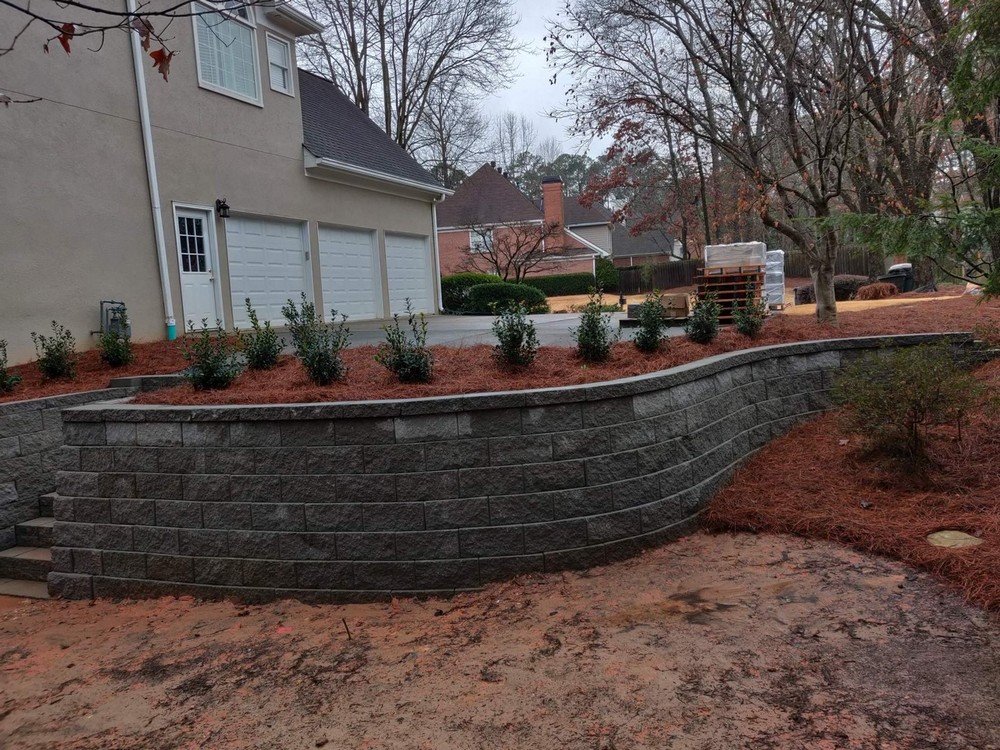
Strong, Stylish Retaining Wall Services
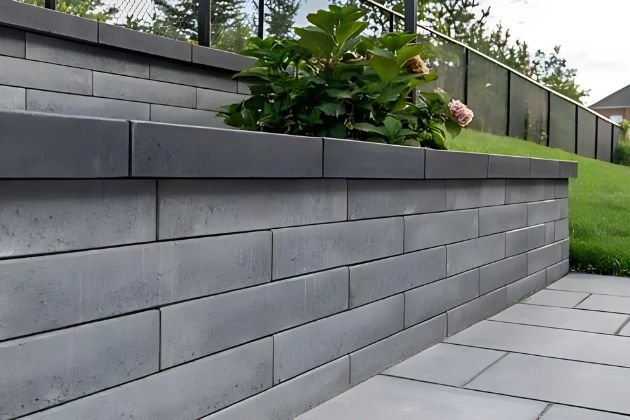
Strong and durable, Right On Landscaping INC offers a versatile selection of concrete wall blocks to complement your landscaping. Our landscape wall pavers are suitable for both stone retaining walls and freestanding features.
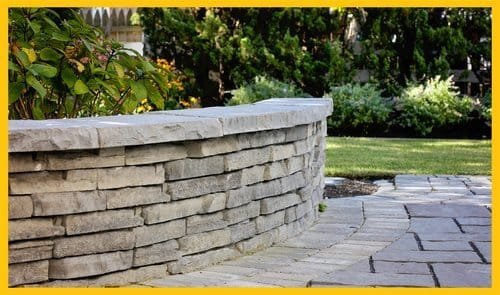
Right On Landscaping INC offers a full line of landscape wall blocks and concrete pavers in natural color blends to complement any colour scheme. And with textures that emulate the look of tumbled stone, stacked stone, chiseled stone or quarried stone, there’s a look to complement any architectural style.
In addition to retaining walls, project ideas include outdoor fire pits, stone water features, built-in planters, pillars and garden walls of various heights. Our paver wall blocks can also wrap columns, hide utilities, build steps and more.
The Retaining Wall Standard Guide
Our Retaining Wall Guide
Step 1
1. Preparation
The location of retaining wall should be marked out first. Utilities, phone company and cable TV providers should then be contacted to locate any buried cables and/or services.
Step 2
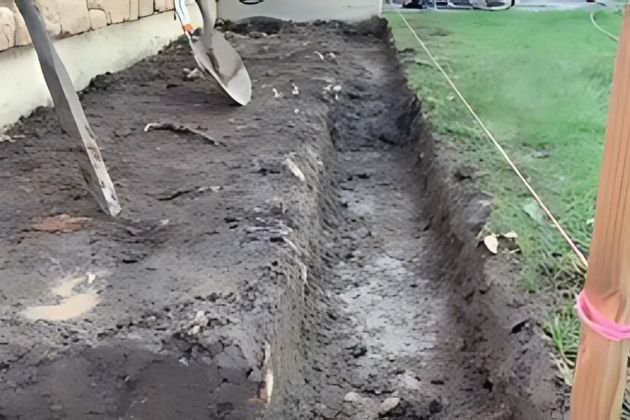
2. Base
The depth of excavation depends on soil type. Clay soil requires deeper excavation; sandy soil requires less. On average 6″ – 12″ depth.
Step 3
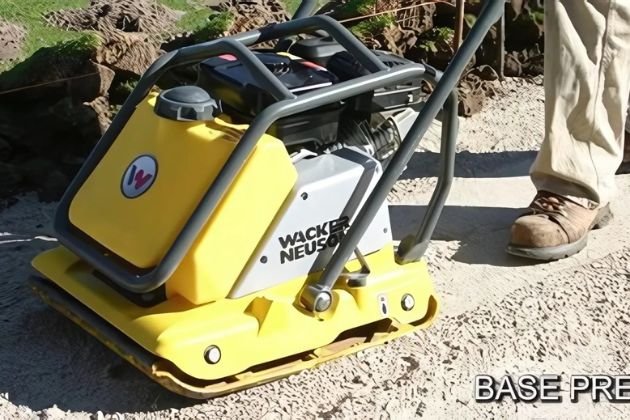
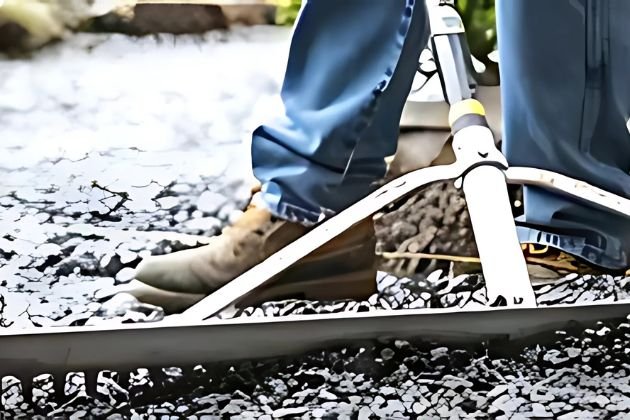
3. Leveling
The excavated area is filled with a gravel base and compacted
using a gas-powered plate compactor in layers 2″ – 3″ thick. Insuring proper hight of retaining wall.
Step 4
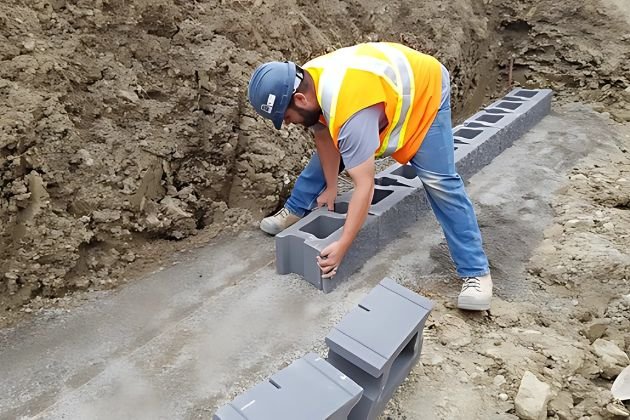
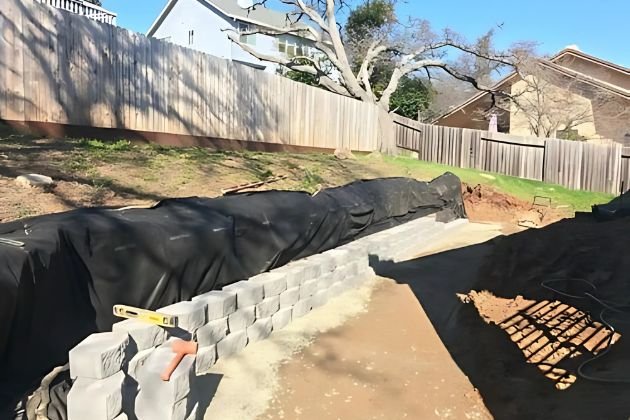
4. Wall Construction
Starting with the base row and making sure everything is perfectly leveled. Then staggering and also stepping back as each row is in place.
Step 5
5. Backfilling
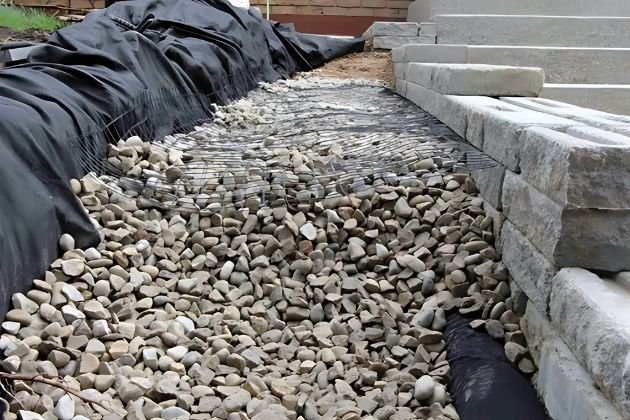
Gravel backfill should be added after every 2 rows of block, using clear gravel. Filter fabric is used to separate the existing soils from the clear gravel.
This will improve the durability of the wall by keeping the area behind the wall frost-free.
Step 6
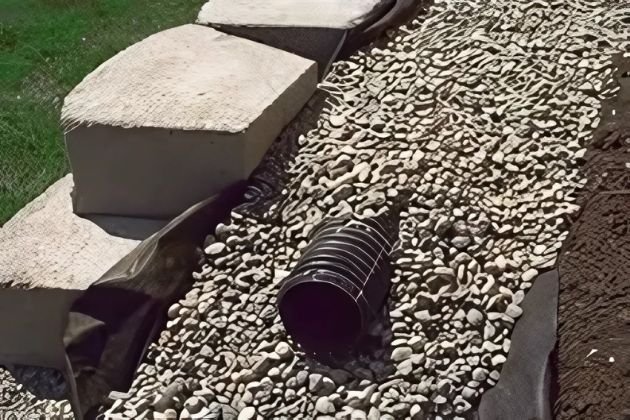
6. Drainage Pipe
Installation of Perforated O-pipe along the first row of your wall. This will ensure water flows away from behind the retaining wall.
Step 7
7. Wall Fabric
Installation of Retaining wall fabric encasing your clear stone to keep out the potential for mud and accumulation of ice formation in the future.
Step 8
8. Finish
The final row of blocks or coping should be glued with a concrete adhesive; in some cases this might be a special cap.
After the glue has set (approx. 4 – 8 hours), you may backfill with soil, put in sod or install plants to complete your installation.
Why Choose Us for Retaining Wall?
- Built to Last: We use top-quality materials and proven construction methods to make sure your retaining wall stays solid for years to come—no shifting, no cracking.
- Custom Designs: We tailor each wall to match your landscape, whether you want something simple and clean or bold and decorative.
- Expert Installation: Our experienced crew gets the job done right the first time, with careful attention to drainage, stability, and safety.
- Local & Trusted: We’re proud to serve homeowners across Kitchener and Cambridge, with a reputation built on honest service and reliable results.
What We Offer
From small garden walls to full property-grade solutions, we offer a wide range of retaining wall services designed to match your needs, style, and budget. Whether you’re upgrading your yard or starting from scratch, we make it easy to get the results you want—without the stress.
Services Include:
- Various Styles & Finishes
- Design + Build
- Solutions for Slopes & Erosion
- Want lighting, garden beds, or seating built in? We can integrate stylish extras right into your wall design.