Professional Hardscaping Services Kitchener, Cambridge and Waterloo

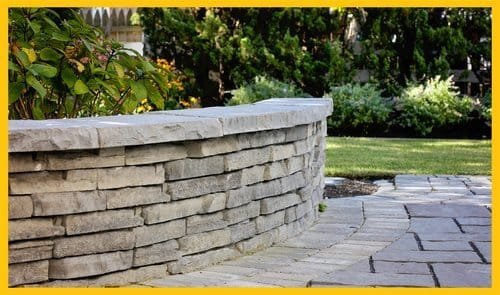
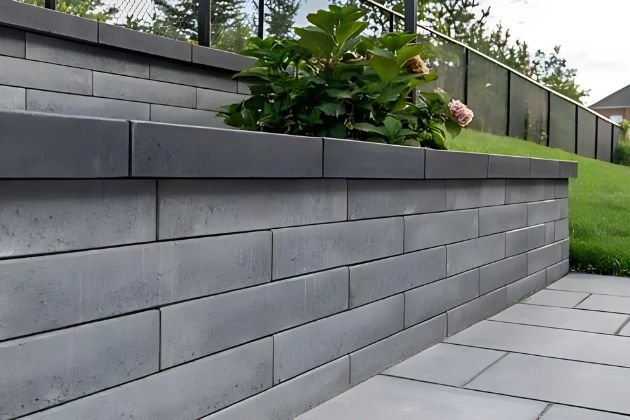
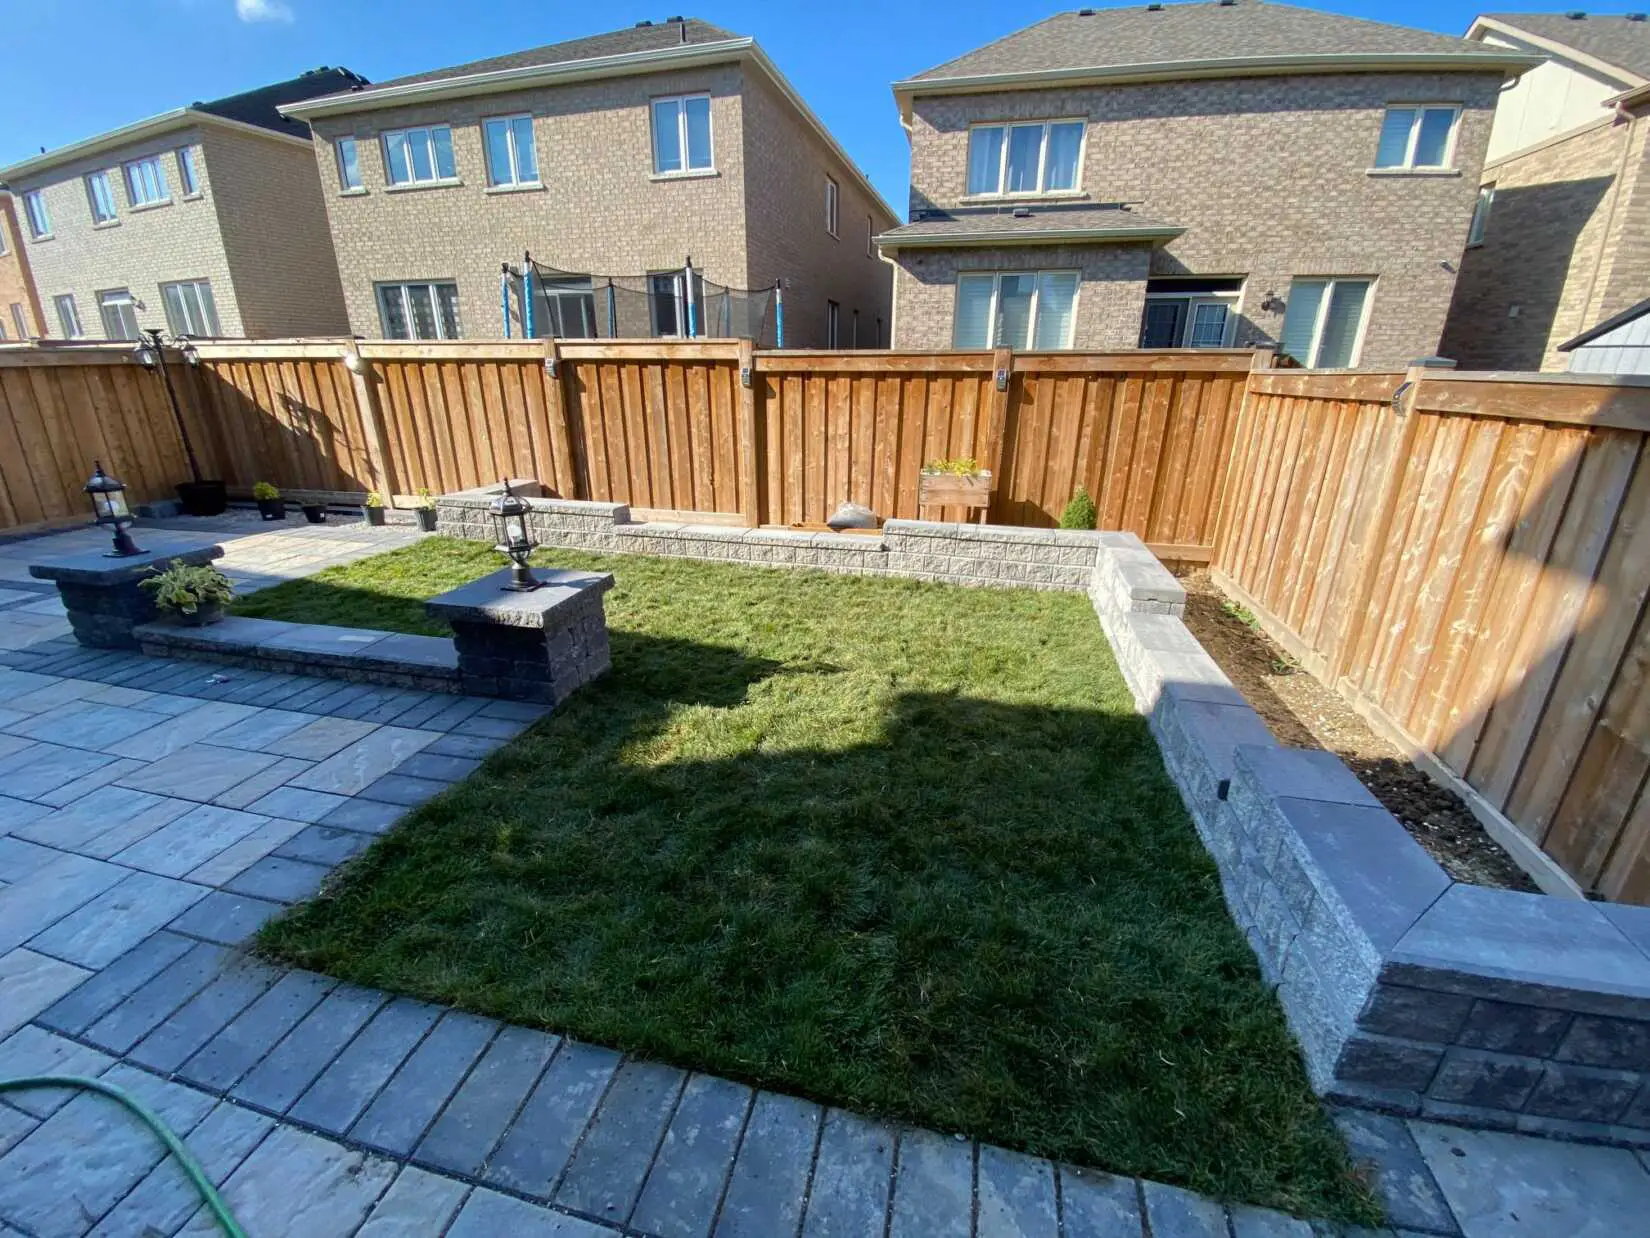
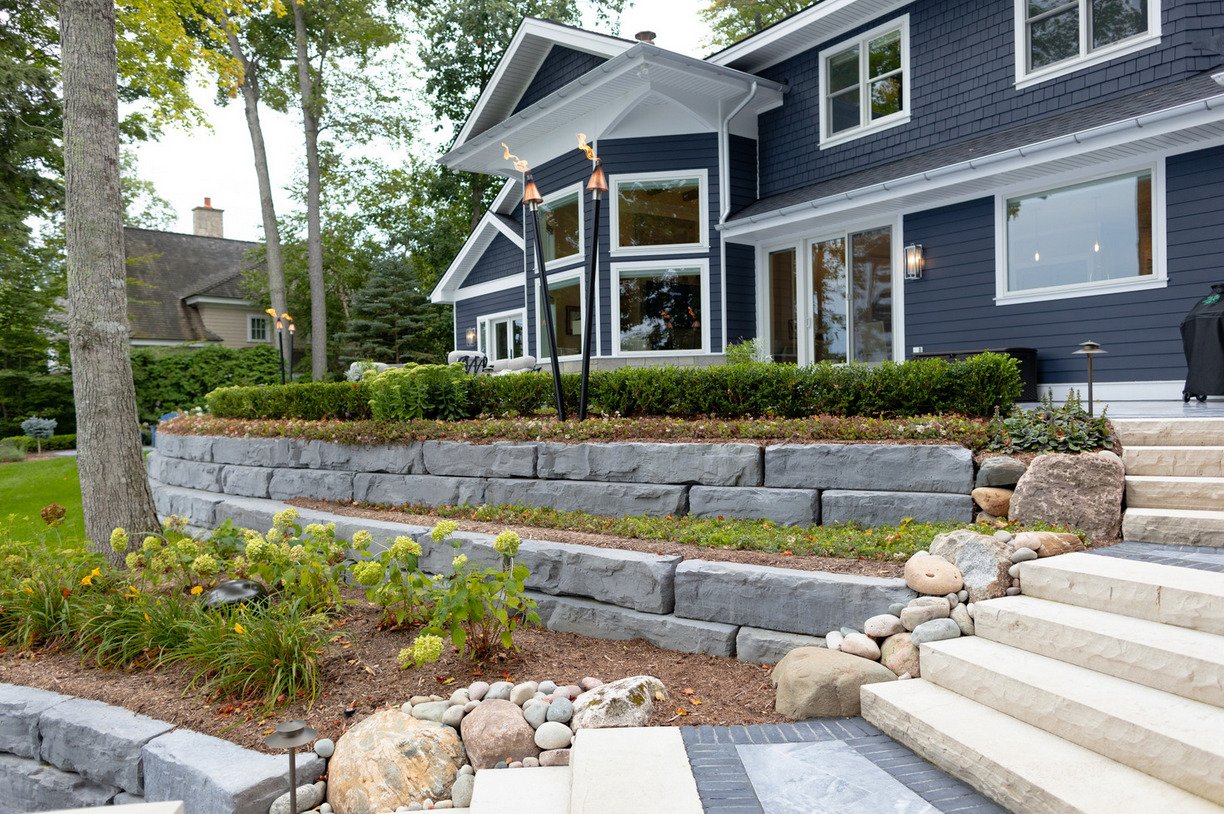
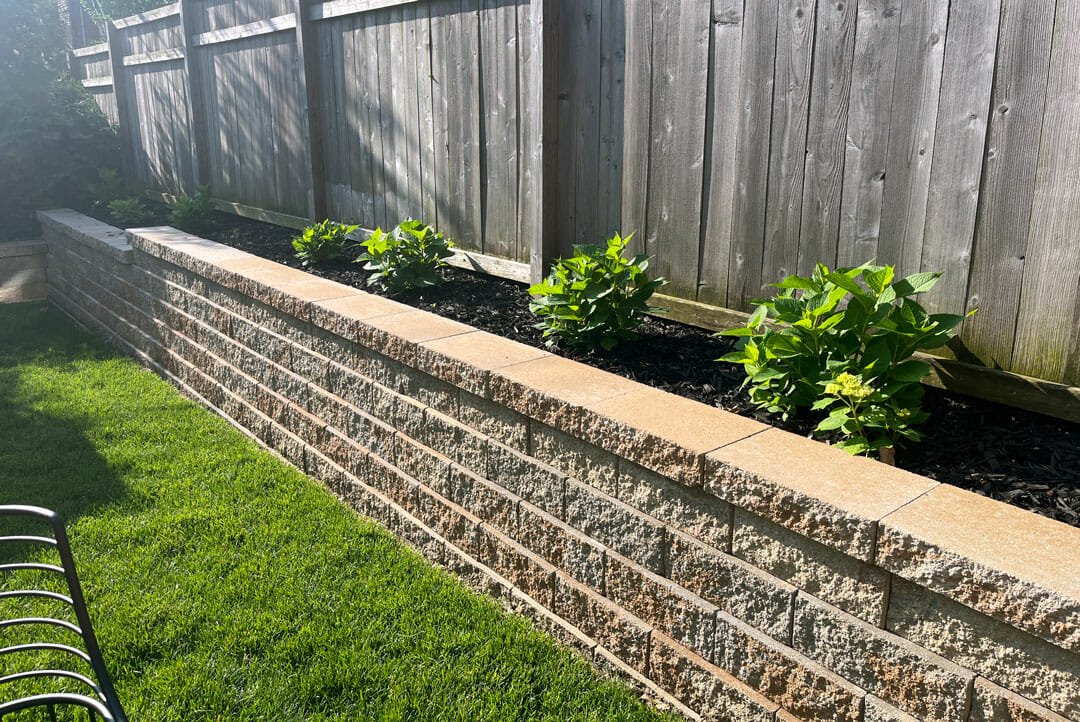
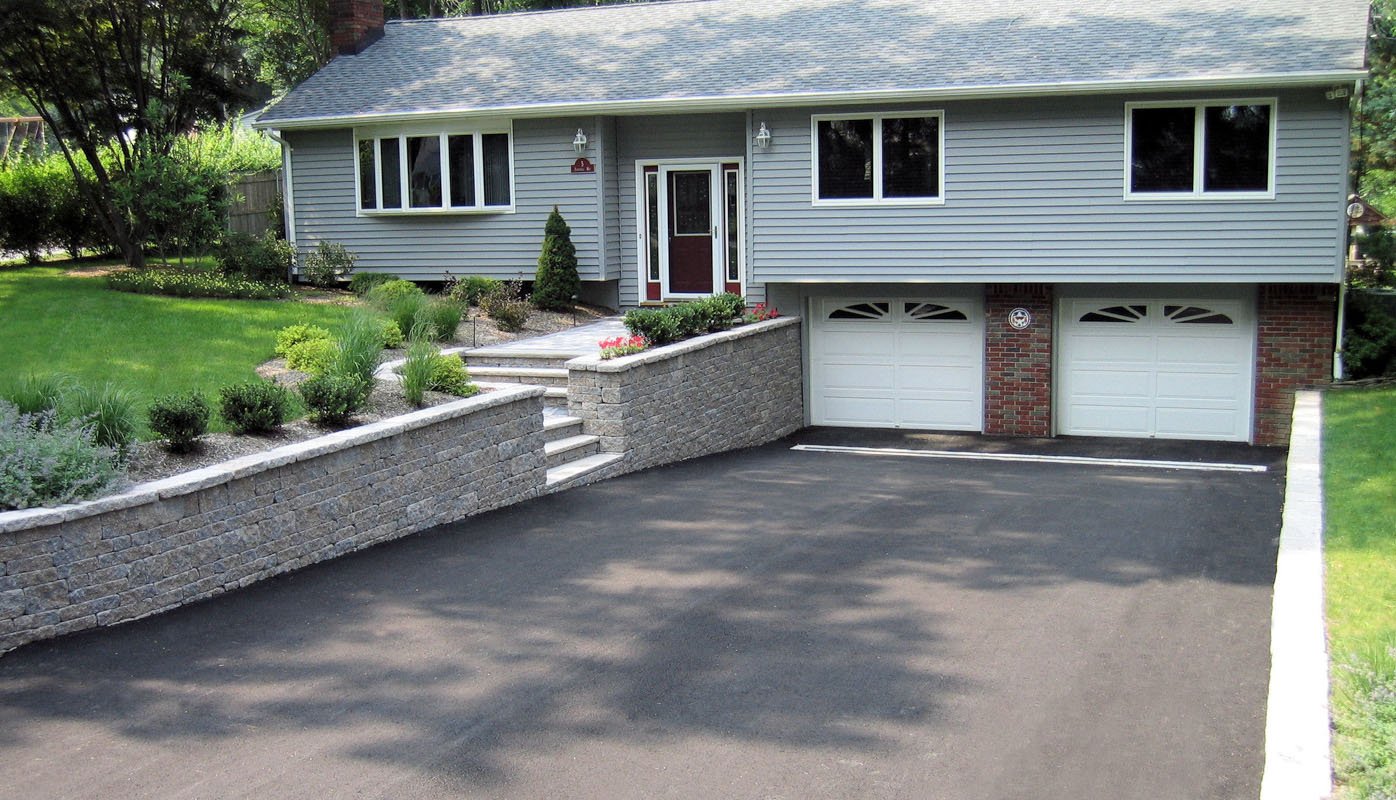
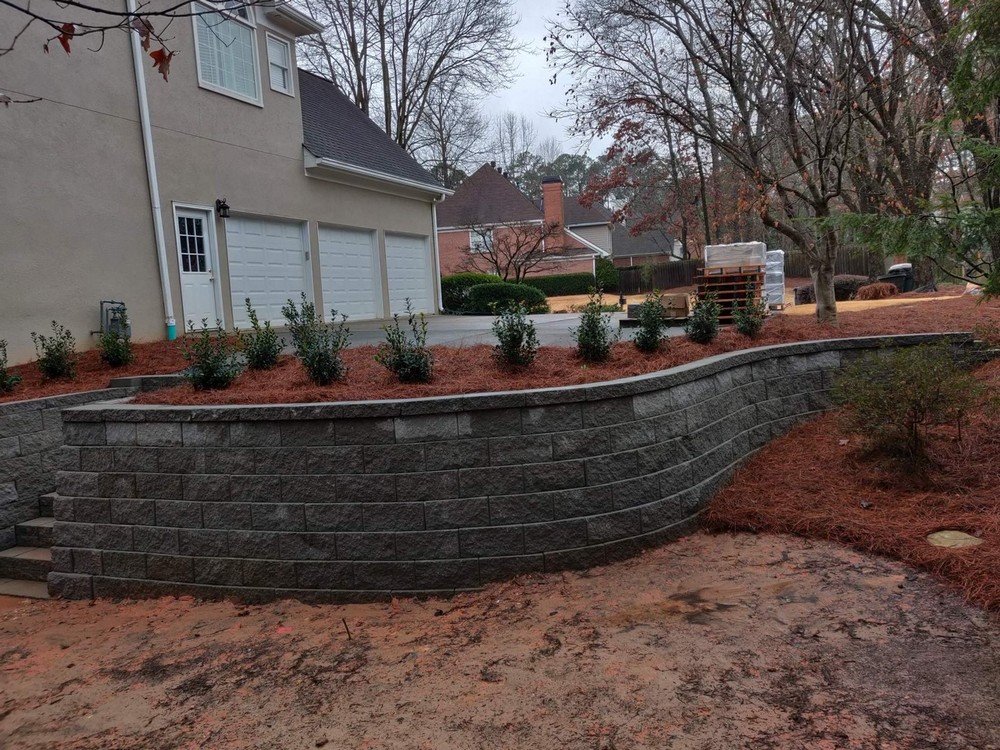
Retaining Walls
Strong and durable, Right On Landscaping INC offers a versatile selection of concrete wall blocks to complement your landscaping. Our landscape wall pavers are suitable for both stone retaining walls and freestanding features.
Right On Landscaping INC offers a full line of landscape wall blocks and concrete pavers in natural color blends to complement any colour scheme. And with textures that emulate the look of tumbled stone, stacked stone, chiseled stone or quarried stone, there’s a look to complement any architectural style.
In addition to retaining walls, project ideas include outdoor fire pits, stone water features, built-in planters, pillars and garden walls of various heights. Our paver wall blocks can also wrap columns, hide utilities, build steps and more.
The Retaining Wall Standard Guide
Our Retaining Wall Guide
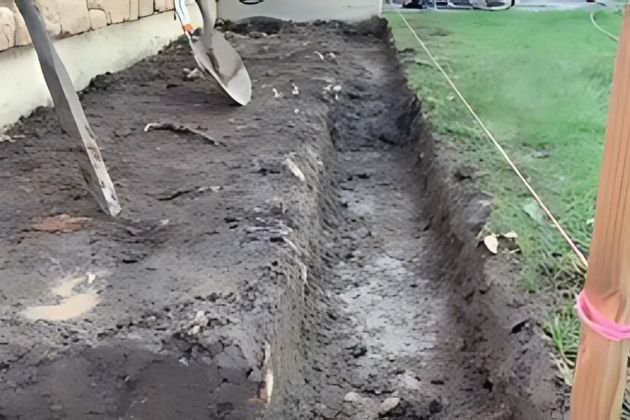
Step 1
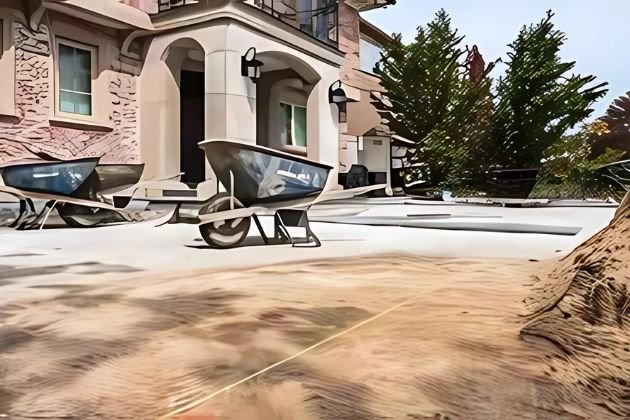
1. Preparation
The location of retaining wall should be marked out first. Utilities, phone company and cable TV providers should then be contacted to locate any buried cables and/or services.
Step 2
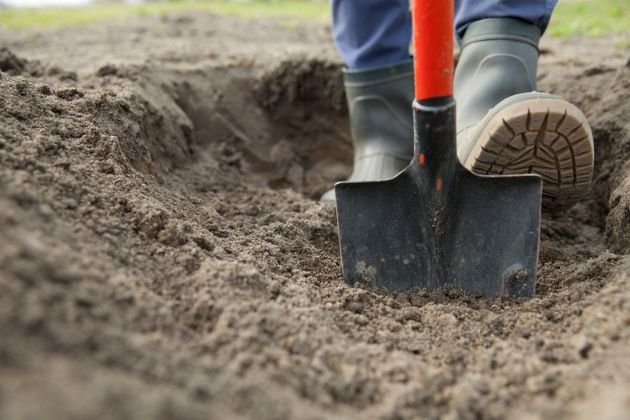
2. Base
The depth of excavation depends on soil type. Clay soil requires deeper excavation; sandy soil requires less. On average 6″ – 12″ depth.
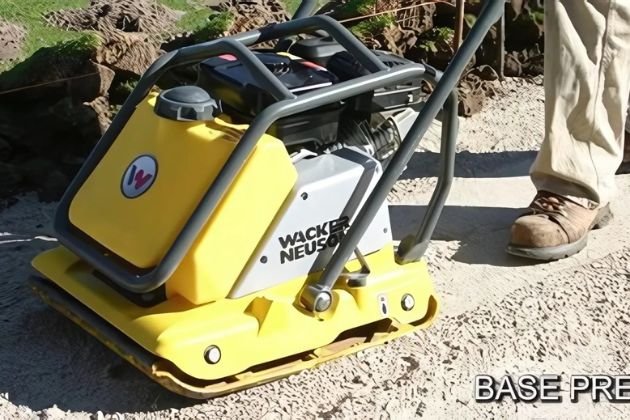
Step 3
3. Leveling
The excavated area is filled with a gravel base and compacted
using a gas-powered plate compactor in layers 2″ – 3″ thick. Insuring proper hight of retaining wall.
Step 4
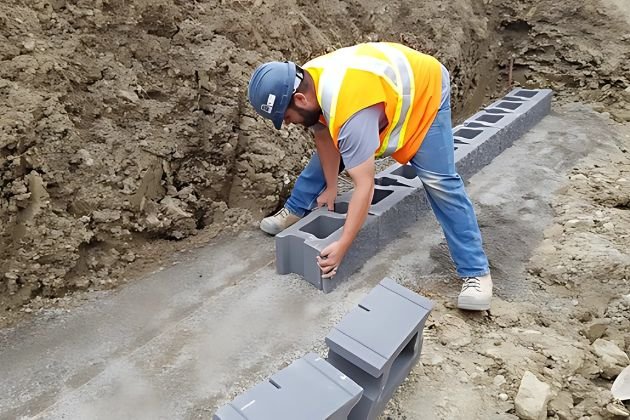
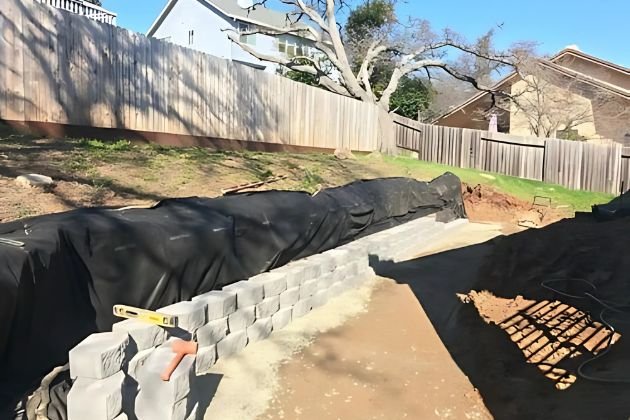
4. Wall Construction
Starting with the base row and making sure everything is perfectly leveled. Then staggering and also stepping back as each row is in place.
Step 5
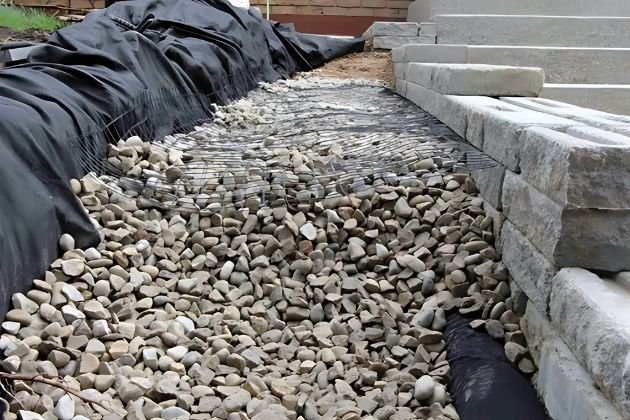
5. Backfilling
Gravel backfill should be added after every 2 rows of block, using clear gravel. Filter fabric is used to separate the existing soils from the clear gravel.
This will improve the durability of the wall by keeping the area behind the wall frost-free.
Step 6
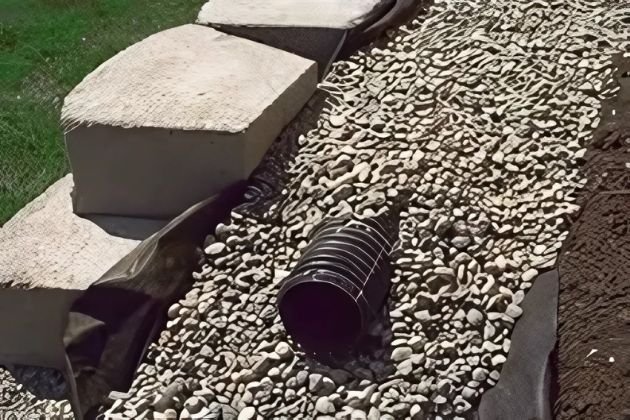
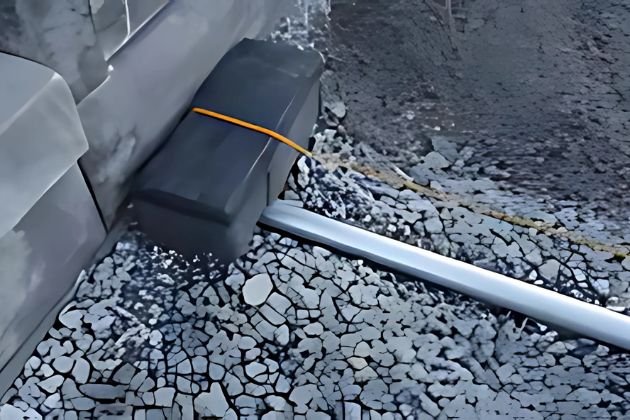
6. Drainage Pipe
Installation of Perforated O-pipe along the first row of your wall. This will ensure water flows away from behind the retaining wall.
Step 7
7. Wall Fabric
Installation of Retaining wall fabric encasing your clear stone to keep out the potential for mud and accumulation of ice formation in the future.
Step 8
8. Finish
The final row of blocks or coping should be glued with a concrete adhesive; in some cases this might be a special cap.
After the glue has set (approx. 4 – 8 hours), you may backfill with soil, put in sod or install plants to complete your installation.
The Interlock Standard Guide
Our Interlock Guide
Step 1
1. Preparation
The location of the patio, walkway or driveway should be marked out first.
Utilities, phone companies and cable TV providers should then be contacted to locate buried cables and/or services.
Step 2
2. Excavation
The depth of excavation depends on soil type. Clay soil requires deeper excavation; sandy soil requires less. On average 6″ to 12″
Step 3
3. Base
The excavated area is filled with a gravel base and compacted
using a gas-powered plate compactor in layers 2″ – 3″ thick. All
installations should be sloped away from the house/building for proper drainage.
Step 4
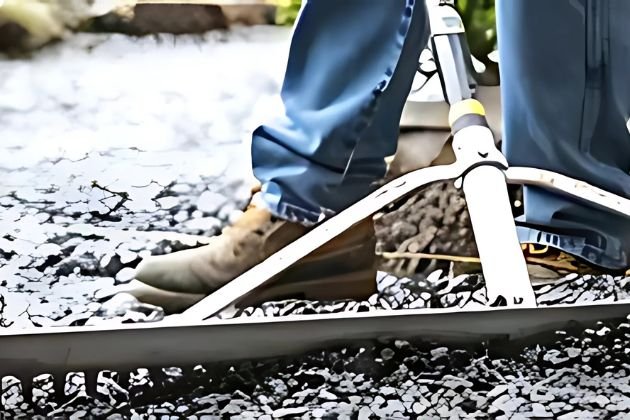
4. Screeding
Pavers are laid on a 1″ thick bed of
coarse sand or a 1/8″ open- graded chip placed directly on the compacted base. One-inch diameter pipes are often used as screeding guides on top of the gravel.
This bedding layer allows pavers to be leveled for smoothness and drainage.
Step 5
5. Laying The Pavers
Pavers are laid in the desired pattern directly on the screeded bedding material. String lines help to keep the joint lines straight. During this process walk on the pavers, not the screed bed.
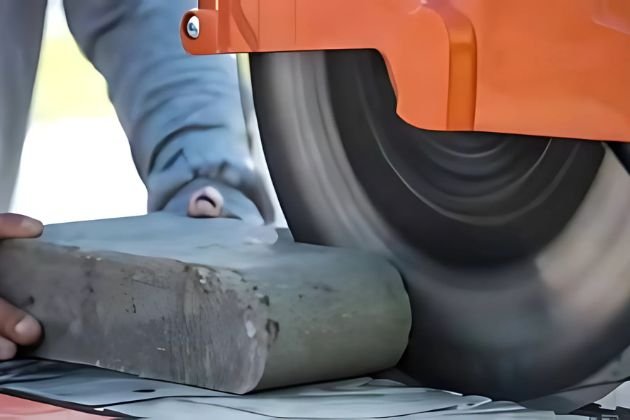
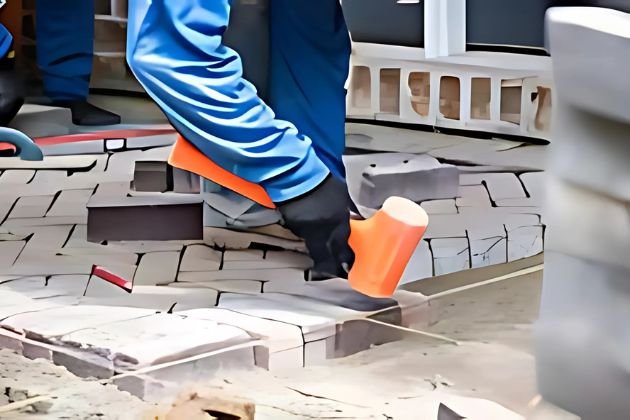
Step 6
6. Cutting
Pavers that do not fit along edges or around objects require cutting. Pavers are cut with a guillotine cutter or masonry saw. Proper safety gear must be worn while cutting and dustless or wet saws should be used to limit airborne silica.
Step 7
7. Accents
Use contrasting colors, textures and patterns to make accents.
Accents are easy to install and make your installation unique. They are often laid first before installing the main pattern.
Step 8
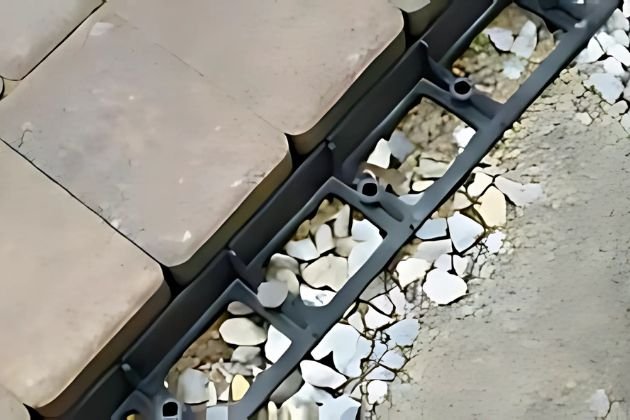
8. Edge Restraint
Edge restraints are a critical element in terms of the durability of a paver installation. They prevent the pavers from moving and shifting laterally. Both plastic and metal edge restraints are effective. Edge restraints must always be spiked into the compacted base. Various concrete edging materials also work well.
Step 9
9. Compacting
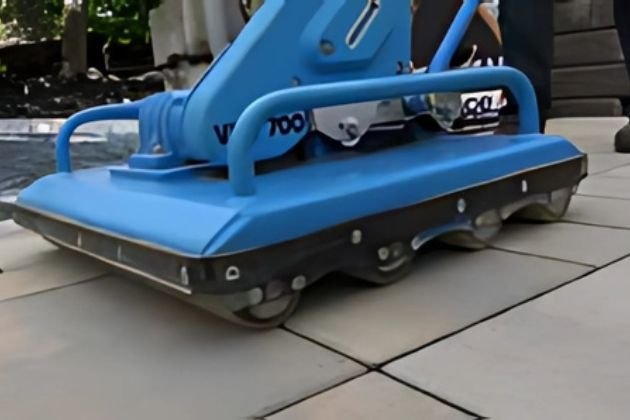
After all the cuts have been made, and the edge restraints are in place, the pavers must be swept clean and then compacted with a plate compactor. This helps settle the pavers into the bedding material and creates a flat surface.
Step 10
10. Joint Material
Joint material plays an important role between pavers, in keeping weeds and other debris out. Your contractor can help you decide which joint material is right for your project.are effective. Edge restraints must always be spiked into the compacted base. Various concrete edging materials also work well.
Step 11
11. Sealing
Some homeowners choose to apply a sealer to enhance the color of the pavers, while others choose to appreciate the colors as they are. If you choose to seal, you should plan to reseal
every 3-5 years. Always test sealer in a small hidden area to make sure you are satisfied with the results.are effective. Edge restraints must always be spiked into the compacted base. Various concrete edging materials also work well.
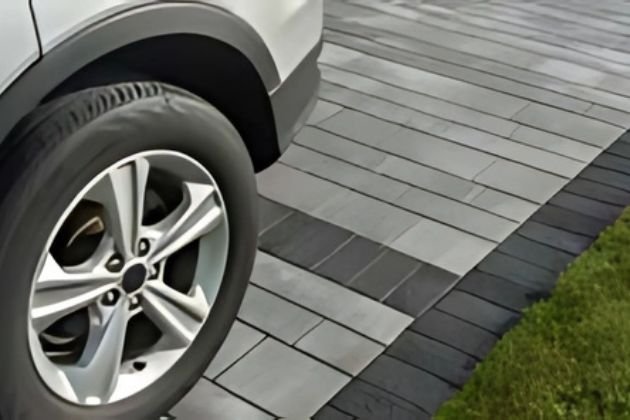
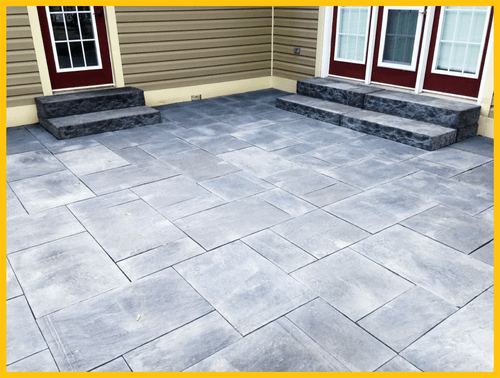
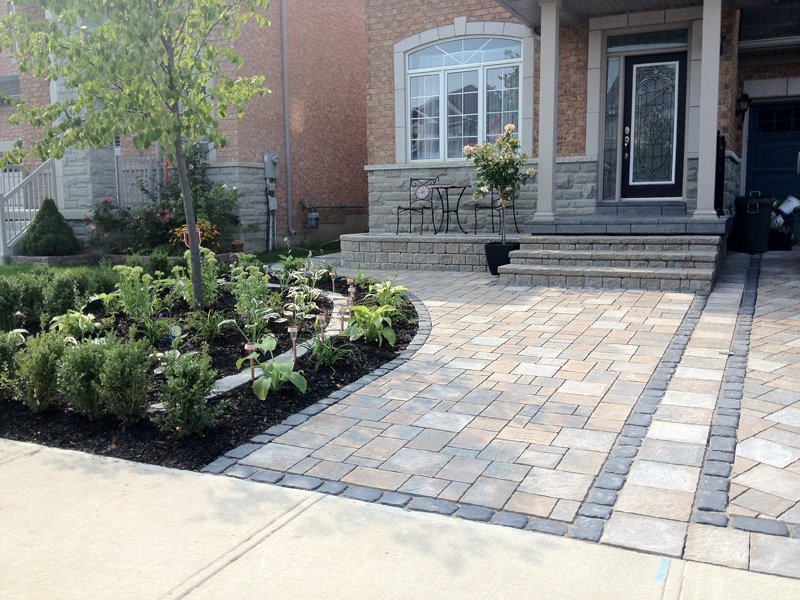
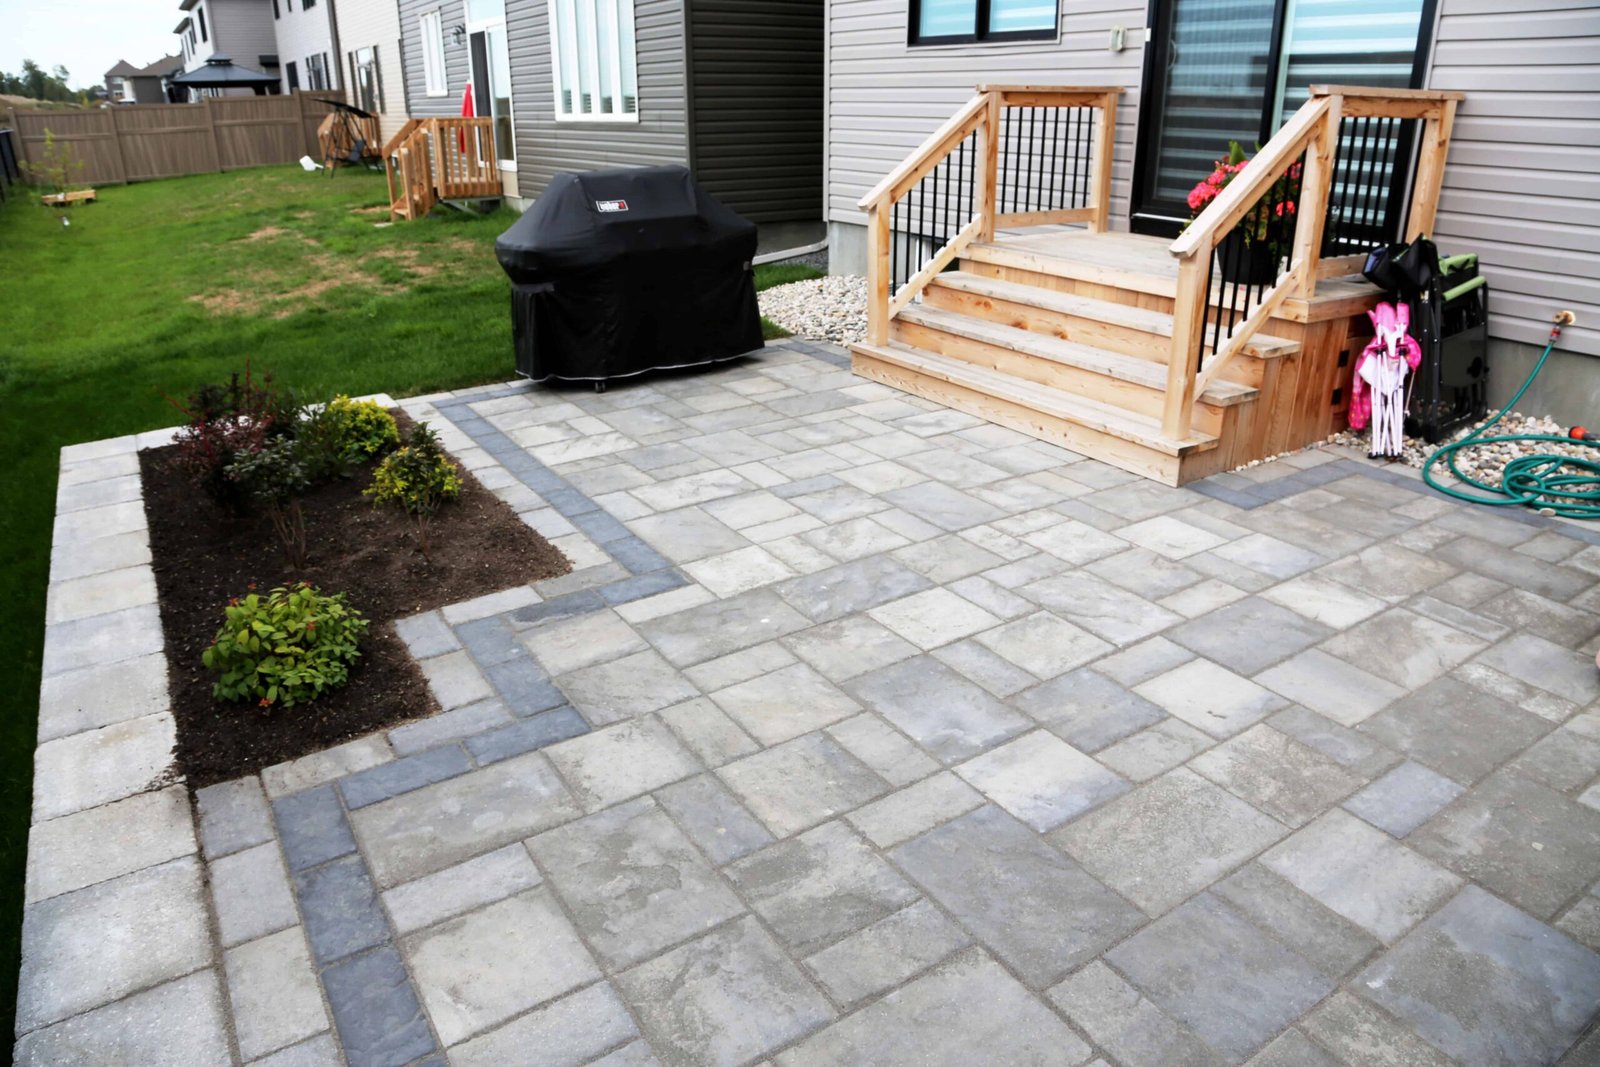
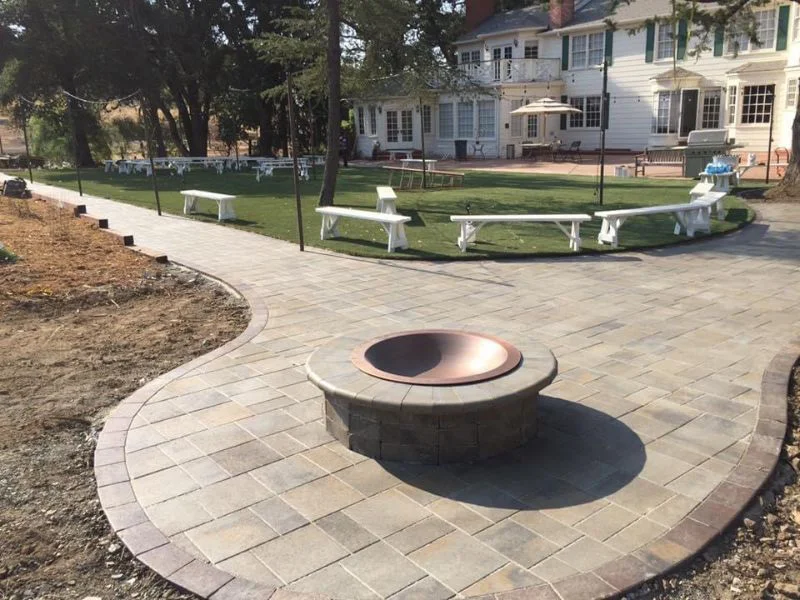
Driveways,
Patios &
Pathways
Our concrete pavers, paving stones, and slab pavers offer multiple laying patterns, giving you the flexibility to create unique outdoor living spaces that complement your personal sense of style.
Our selection of concrete pavers offer limitless creativity and possibilities. Use contoured paver patterns for elaborate driveways and entrances, or apply more simplistic designs for walkways and patios.
Whether your color palette is neutral, warm or cool, we have multiple options and paver styles with rich color blends to complement the architecture of your home.
Enjoy a natural stone look for backyard patios and pool areas, or add warmth to your outdoor living space with unique shades of subtle or vibrant colors in a wide variety of tones.


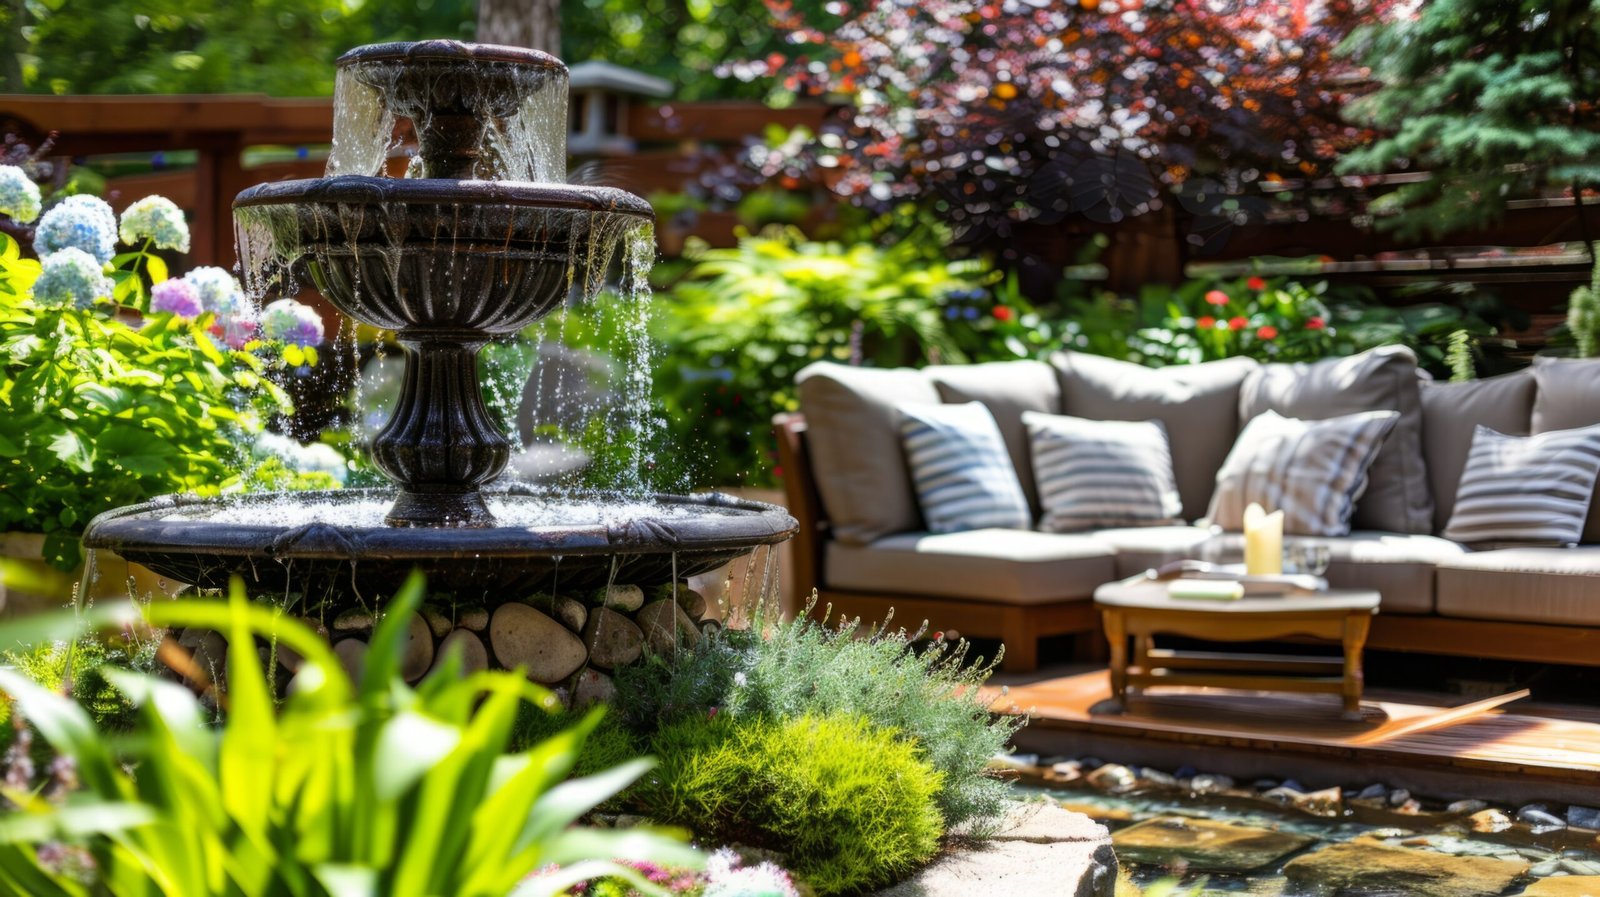
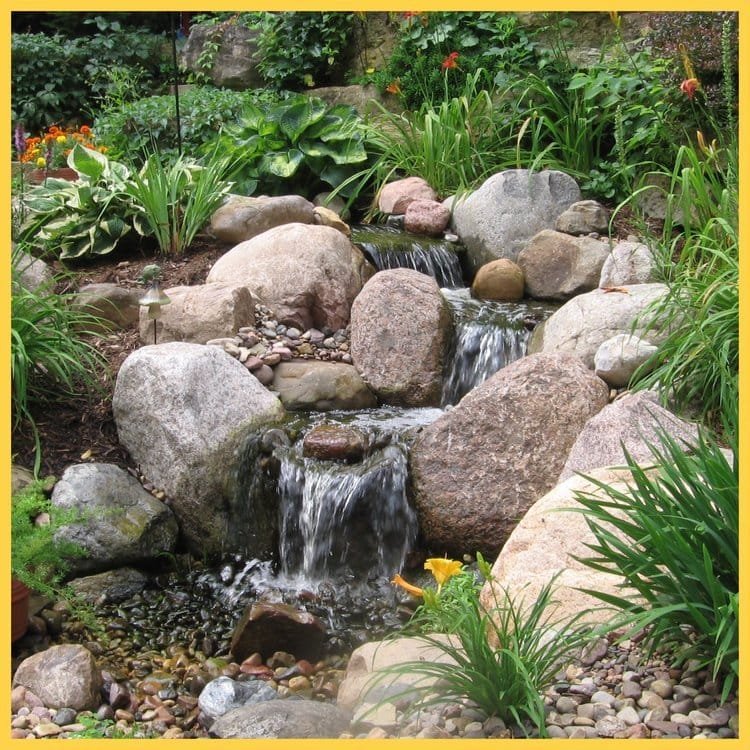
Water Features
Landscape water features can add an unmatched element to your outdoors – they can add life to the space, something almost no other outdoor feature can. Our expertise and experience and specialization in creating artistic features can also help enhance the value of your outdoors.
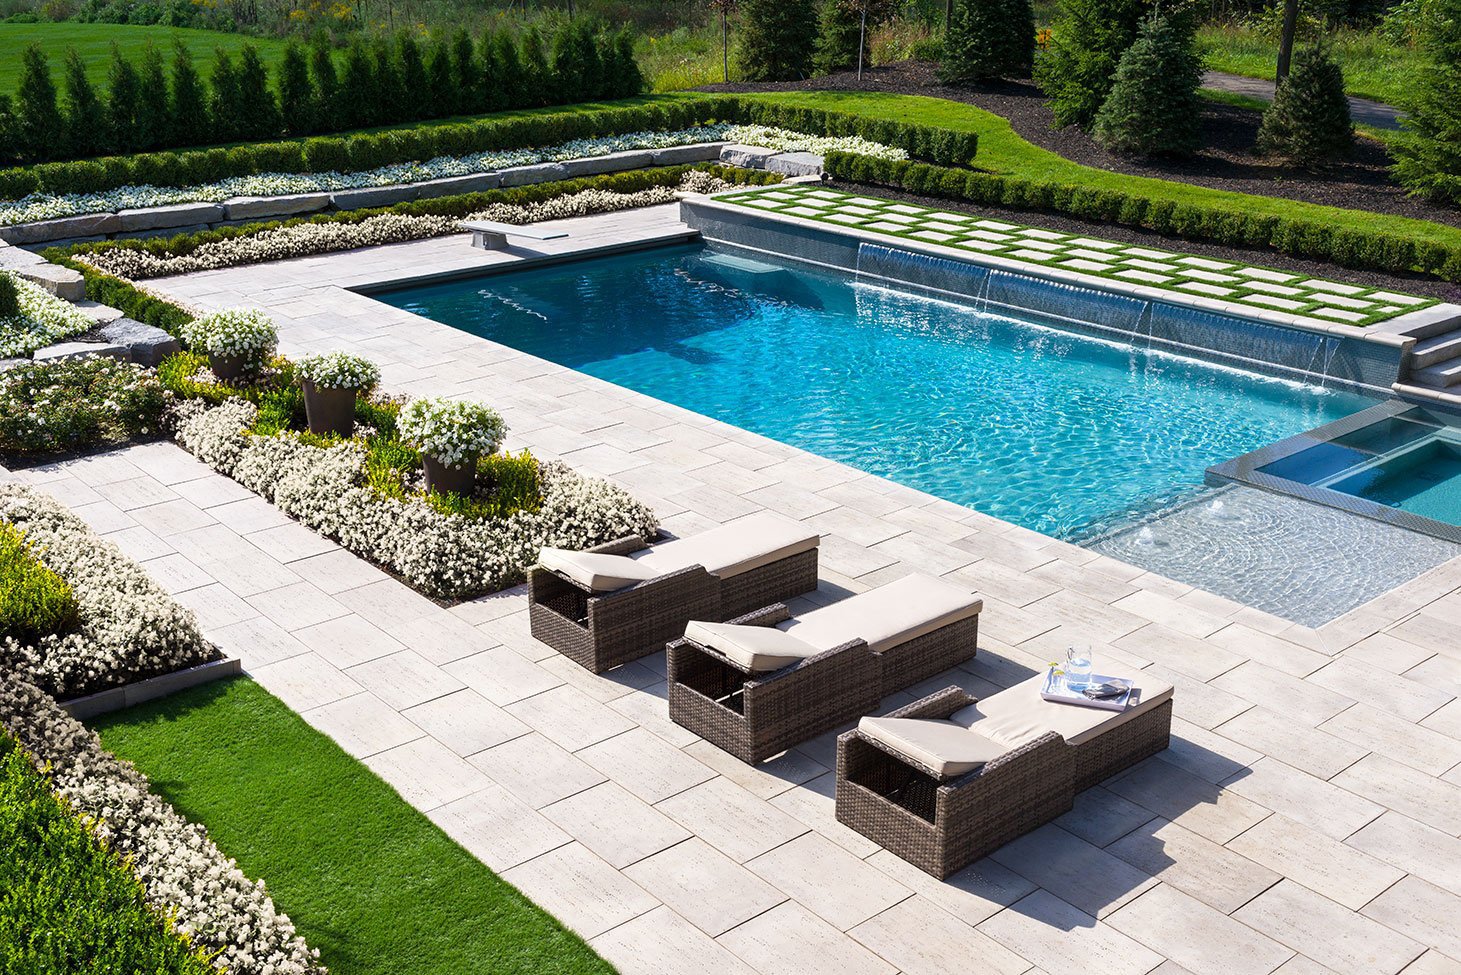
Pool Decks
Landscape water features can add an unmatched element to your outdoors – they can add life to the space, something almost no other outdoor feature can. Our expertise and experience and specialization in creating artistic features can also help enhance the value of your outdoors.

FEATURED PROJECTS
Hardscaping Gallery


Request A Free Estimate
Ready to transform your outdoor space? Right On Landscaping INC offers expert services for all your landscaping needs. Schedule your consultation today and let us create your dream landscape!